
For this example, the following software versions were in use:
- Ubuntu v20.04.3
- MySQL server v5.7.35
- Percona XtraBackup v2.4.24
It is important to note that Percona XtraBackup 8.0 is not compatible with MySQL version 5.7 and was introduced for use with MySQL version 8.0. As of the writing of this document, there does not exist a Percona XtraBackup version compatible with the most recent version of MySQL (8.0.28); see https://www.percona.com/doc/percona-xtrabackup/8.0/index.html for more details.
This document shows a step-by-step example of setting up and restoring incremental backups using Percona XtraBackup on MySQL 5.7.
This document will use “$” to denote a command used in the operating system terminal and “>” to denote any commands used in the MySQL client command line.
Permissions
The necessary permissions to perform a Percona XtraBackup are easily found on the Percona website: https://www.percona.com/doc/percona-xtrabackup/2.1/innobackupex/privileges.html and are as follows (for this example all os permissions were taken care of using root privileges):
| Permission List | Example | Permissions Used for Example | |
| OS | READ, WRITE, EXECUTE at filesystem level for the MySQL datadir | $sudo xtrabackup | $sudo -i |
| MySQL | RELOAD, LOCK TABLES, REPLICATION CLIENT, CREATE TABLESPACE, PROCESS, SUPER | >GRANT RELOAD, LOCK TABLES, REPLICATION CLIENT ON *.* TO ‘user’@’localhost’; | >GRANT ALL ON *.* TO ‘user’@’localhost’; (root user) |
Backup
Full backup:
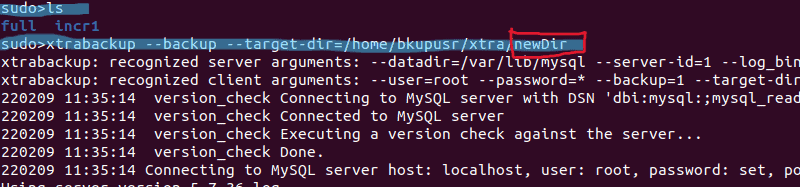
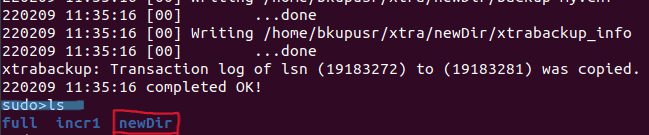
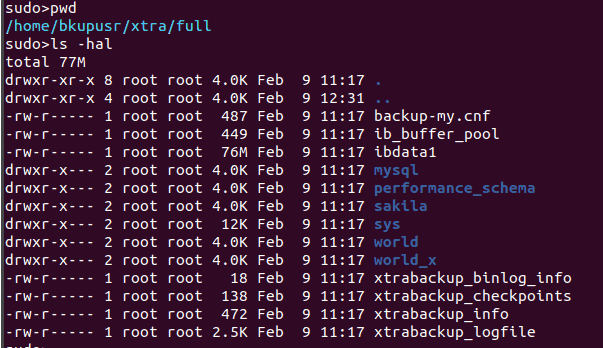
An incremental backup must first begin with a full backup. The command is called like: “$xtrabackup –backup –user=bkupusr –password –target-dir=/home/user/fullBackupDestination,” where target-dir is the destination for the full backup. In this example the target directory will be /home/bkupusr/xtra/full. If the target directory does not already exist it will be created (Figures 2 and 3).
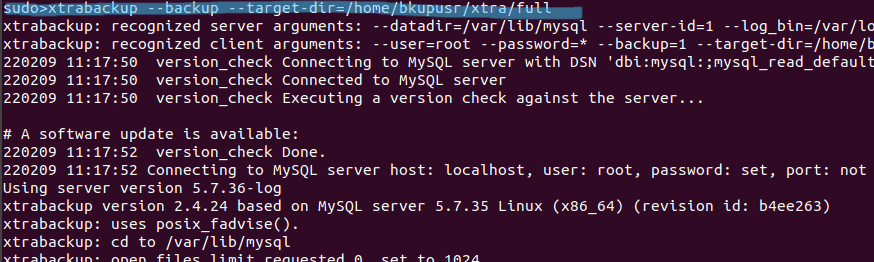
Figure 1 shows the full backup being taken but without the options –user or –password as the login credentials have been set up using $mysql_config_editor. A tutorial on this topic can be found here: https://virtual-dba.com/blog/how-to-use-mysql-config-editor/
Incremental Backup:
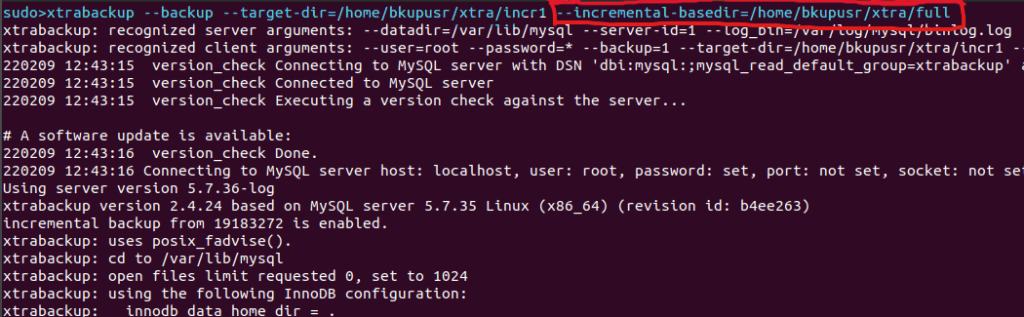
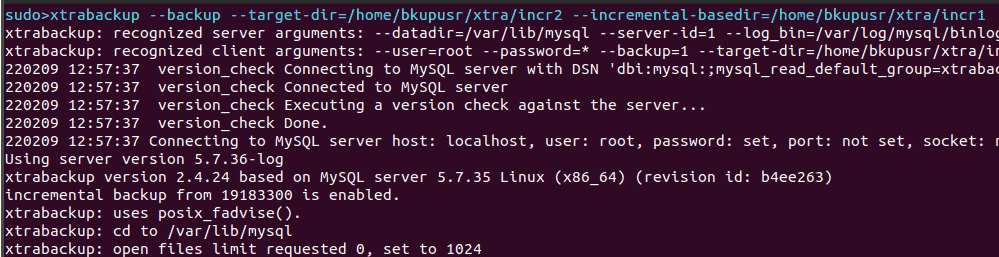
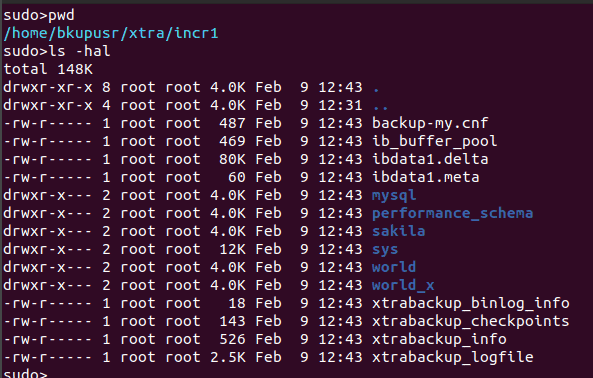
After the initial full backup is set up incremental backups are next. The command for an incremental backup is very similar to that of a full, but an additional directory is required. Now the target-dir will be where the new incremental files go and the option “–incremental-basedir” is the location of the most recent backup taken (in this case the full backup); Figure 4 shows a first incremental backup taken from the previous full backup.
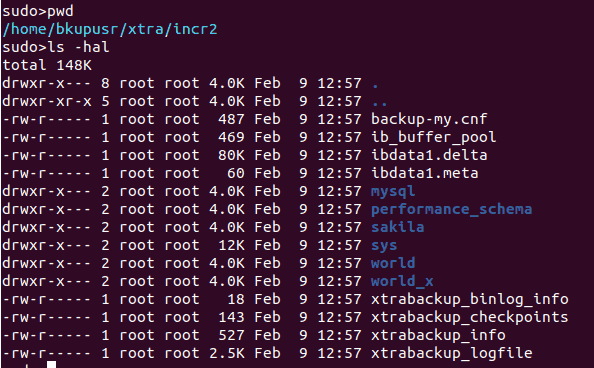
For the next incremental the command is the same, but now the target-dir will specify the location of the next incremental backup, and incremental-basedir will specify the most recent incremental backup as shown in figure 5.
Now there exist three backups (Figures 6-8): one full and two incrementals.
For additional incremental backups continue on in this fashion moving the previous target-dir to the current incremental-basedir.
Restore
The final step is to restore the backups. There is some setup before the restore can actually be executed:
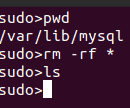
- MySQL service must be stopped
- MySQL data directory must be empty

A full backup restore is relatively simple:
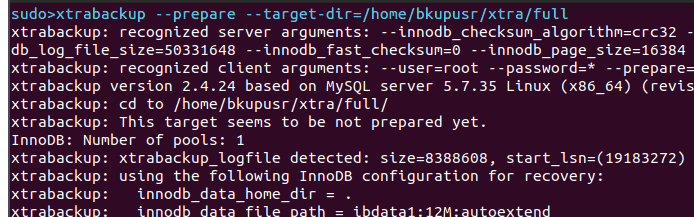
- The backup is first prepared:
- $xtrabackup –prepare –target-dir=/home/usr/full_bkup_directory
- note the –prepare option.
- $xtrabackup –prepare –target-dir=/home/usr/full_bkup_directory
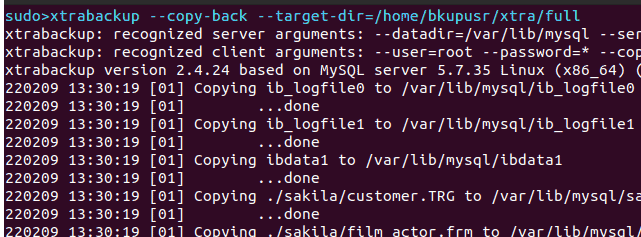
- The full backup is restored to the empty data directory:
- $xtrabackup –copy-back –target-dir=/home/usr/full_bkup_directory
- –copy-back is the restore command
- $xtrabackup –copy-back –target-dir=/home/usr/full_bkup_directory
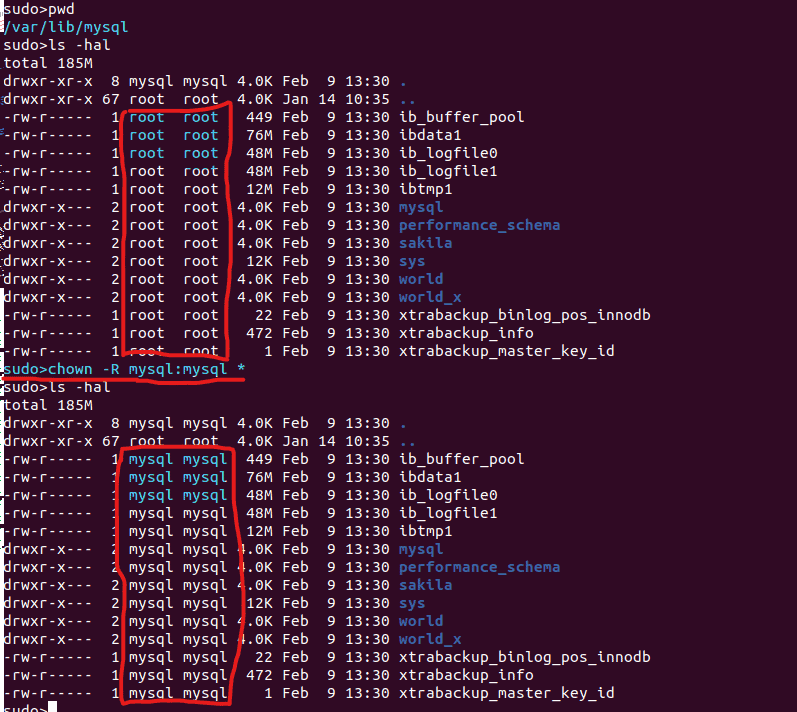
- Permissions must be checked/set on the newly restored backups:
- $Chown mysql:mysql mysql
- This is applied to all files recursively in the data directory
- $Chown mysql:mysql mysql
- Resume MySQL service:
- $service mysql start
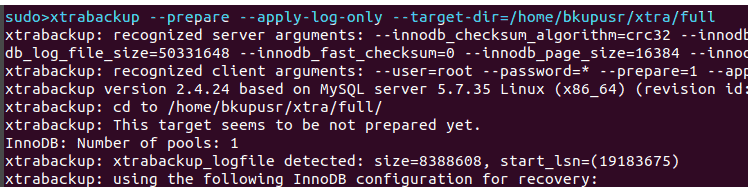
For an incremental restore the setup and copy-back steps are the same, but the prepare step is different; the additional parameter –apply-log-only must be included alongside the –prepare statement except on the final incremental backup.
The prepare steps for incremental backups are:
- Prepare full
- $xtrabackup –prepare –apply-log-only –target-dir=/data/backups/full
- Apply first incremental backup to full backup
- $xtrabackup –prepare –apply-log-only –target-dir=/data/backups/full –incremental-dir=/data/backups/inc1
- Apply second incremental backup to full backup
- $xtrabackup –prepare –apply-log-only –target-dir=/data/backups/full –incremental-dir=/data/backups/inc2


Again, the copy back steps will be the same as with the full backup (using the only the prepared full backup). After the copy back step the restore is complete.