The following instruction will walk you through how to create a Windows OS backup in the event you need system image restore. An image backup copies everything on your drive, including partitions and the boot sector. It’s the only way to back up your Windows installation properly, with all of your programs and settings.
Windows Backup Prerequisites
- NTFS Formatted External Device (External HDD recommended)
- Up-to-date OS
Instruction:
- Go to Start menu
 > Settings
  > Update and Security
  >Backup
  . You should see the following page.
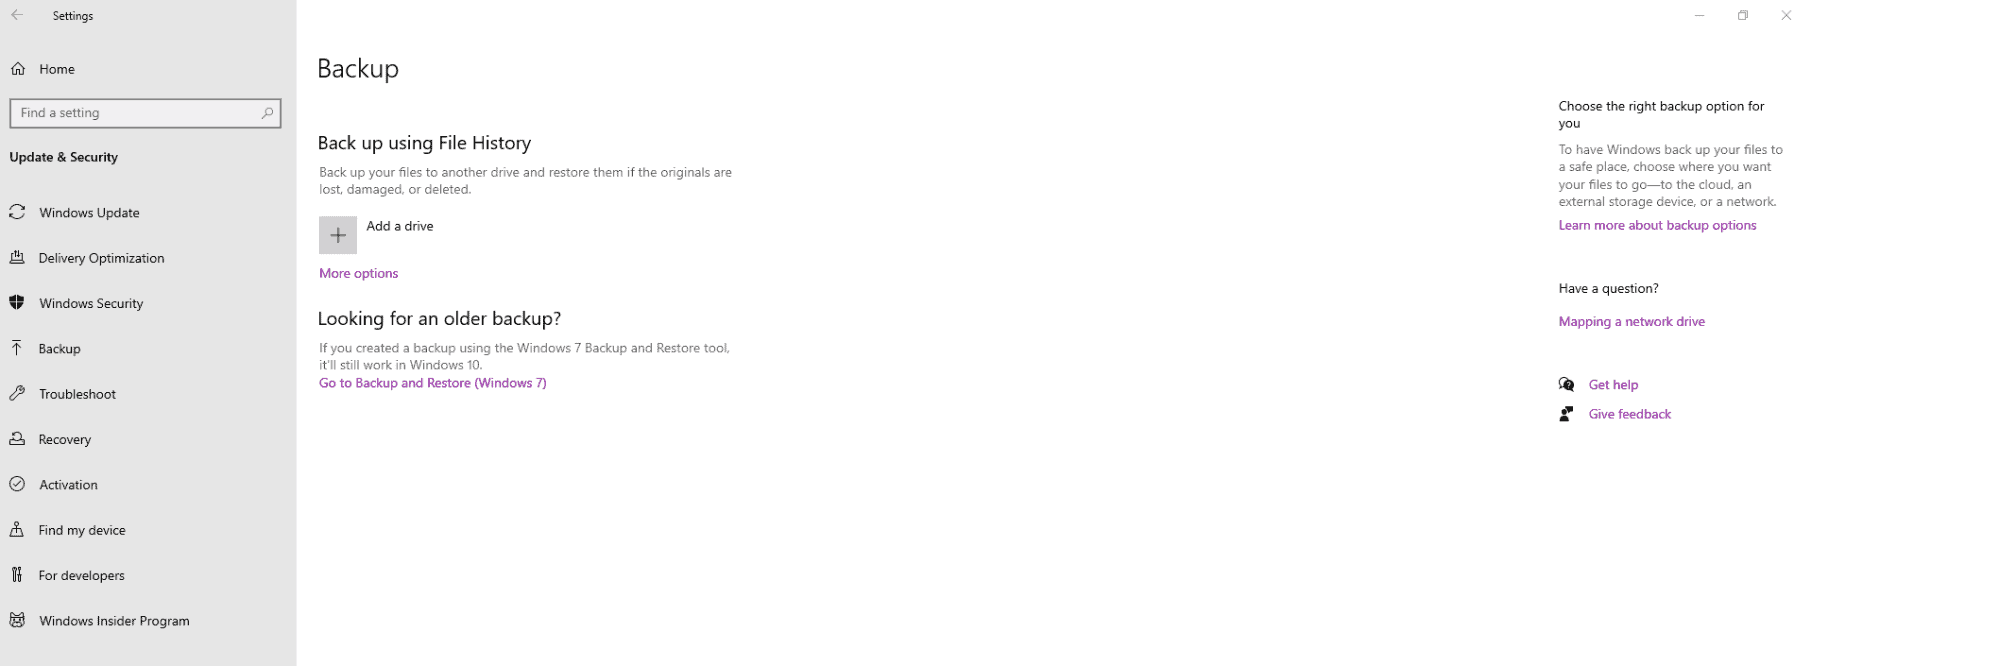
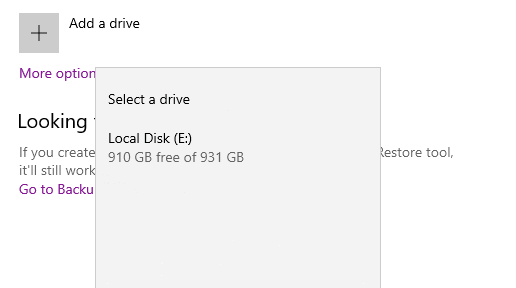
2. Select “Add a drive” and select the external drive for the backup
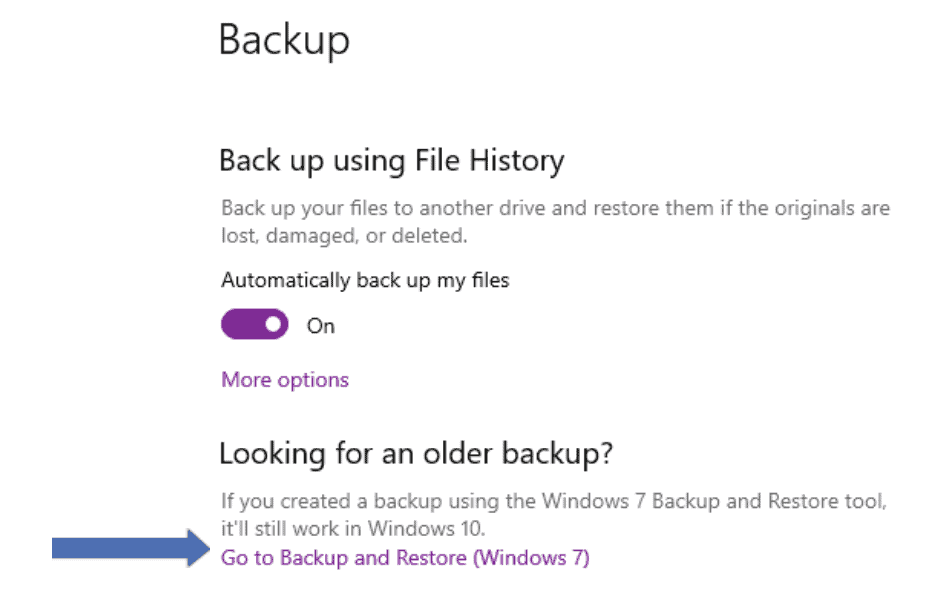
3. Now that you’ve mapped the external drive select, “Go to Backup and Restore (Windows 7)” — this will open a new window in the Control Panel.
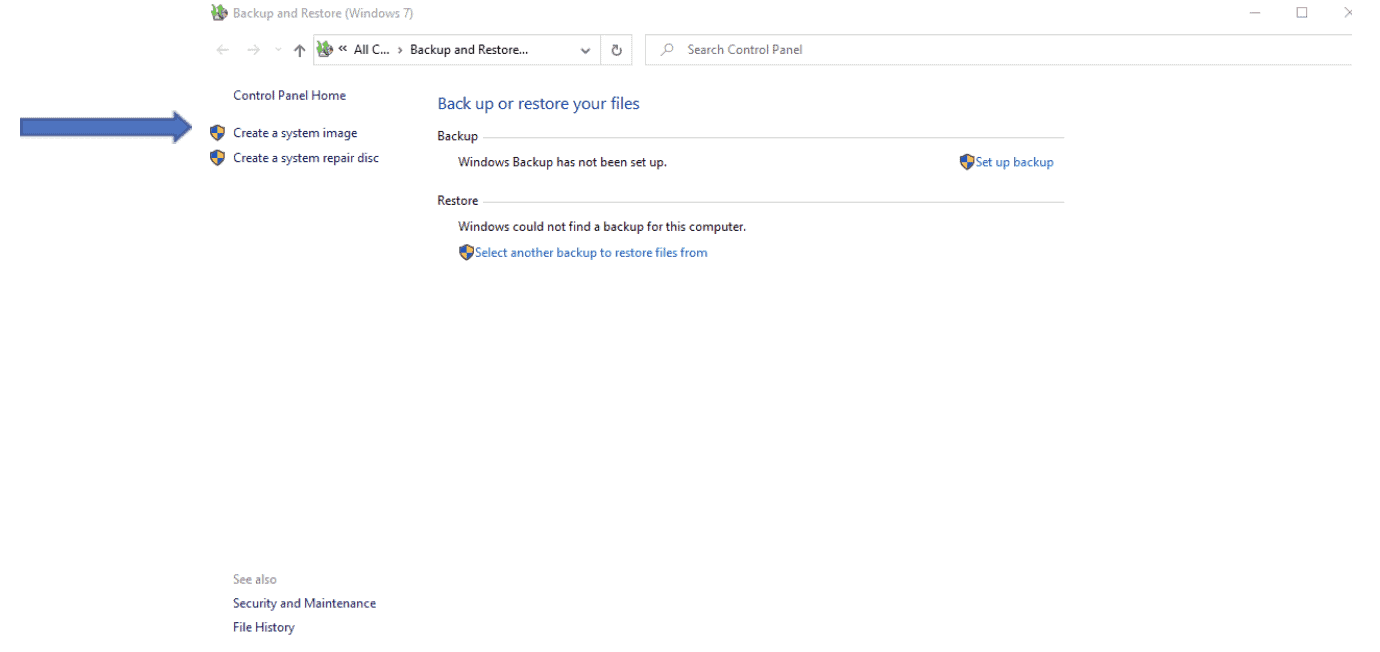
4. In the new window, select “Create a window system image“
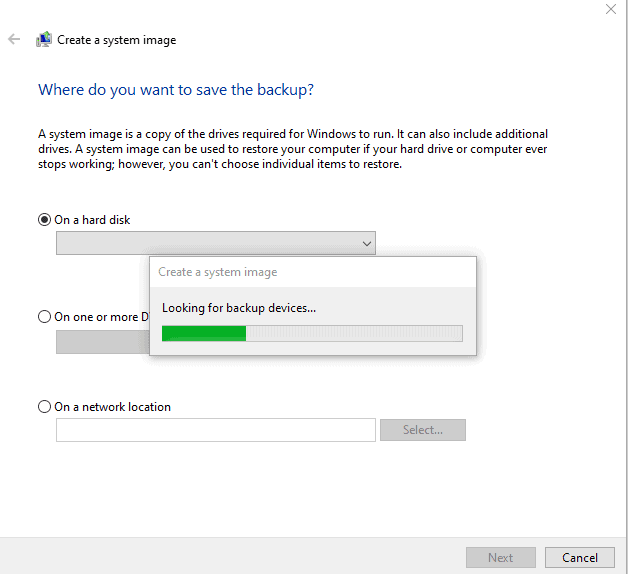
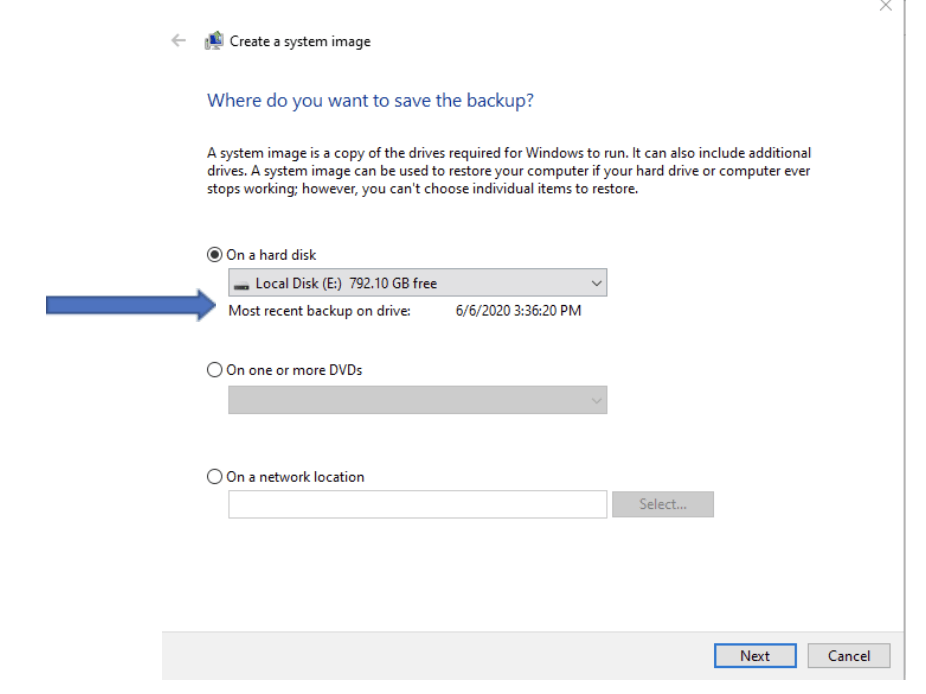
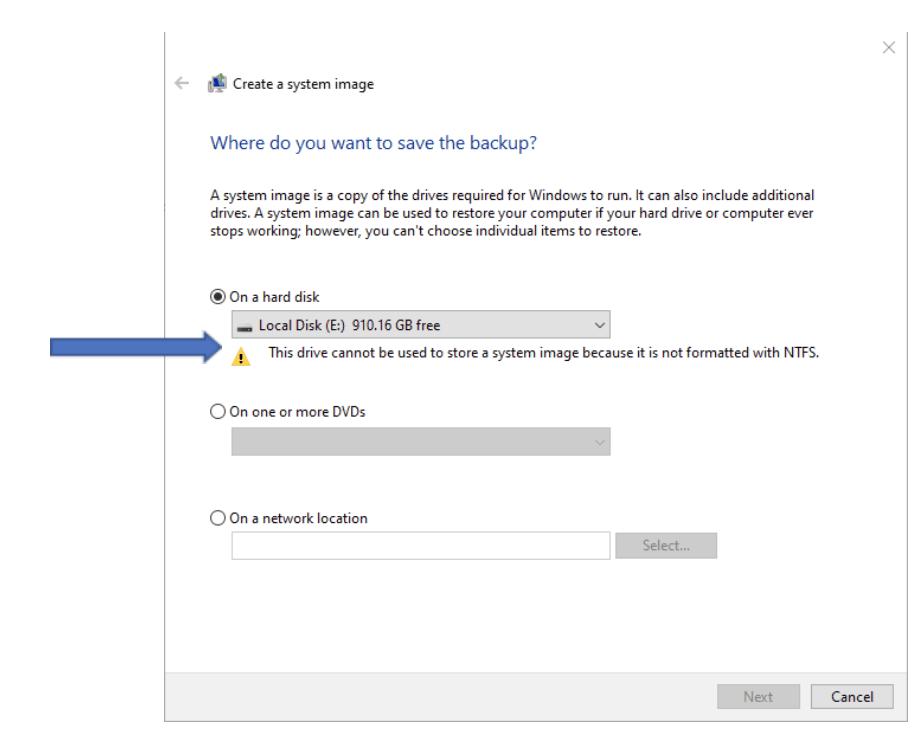
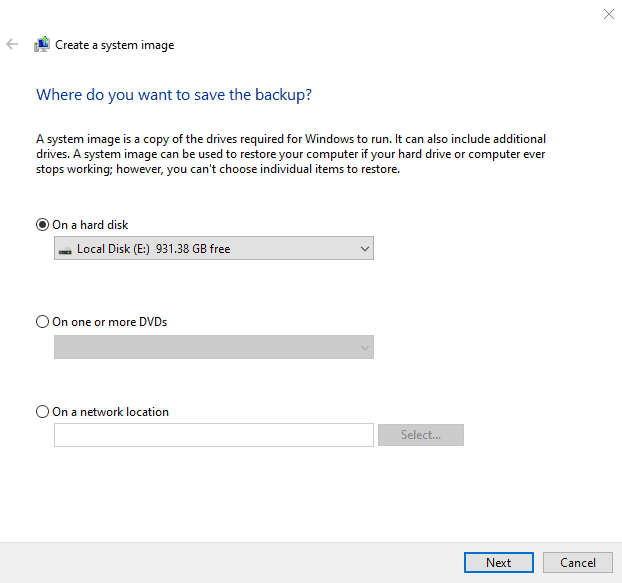
5. Select your external drive and click “Next.“Note: if your drive is not formatted correctly you will see the following:
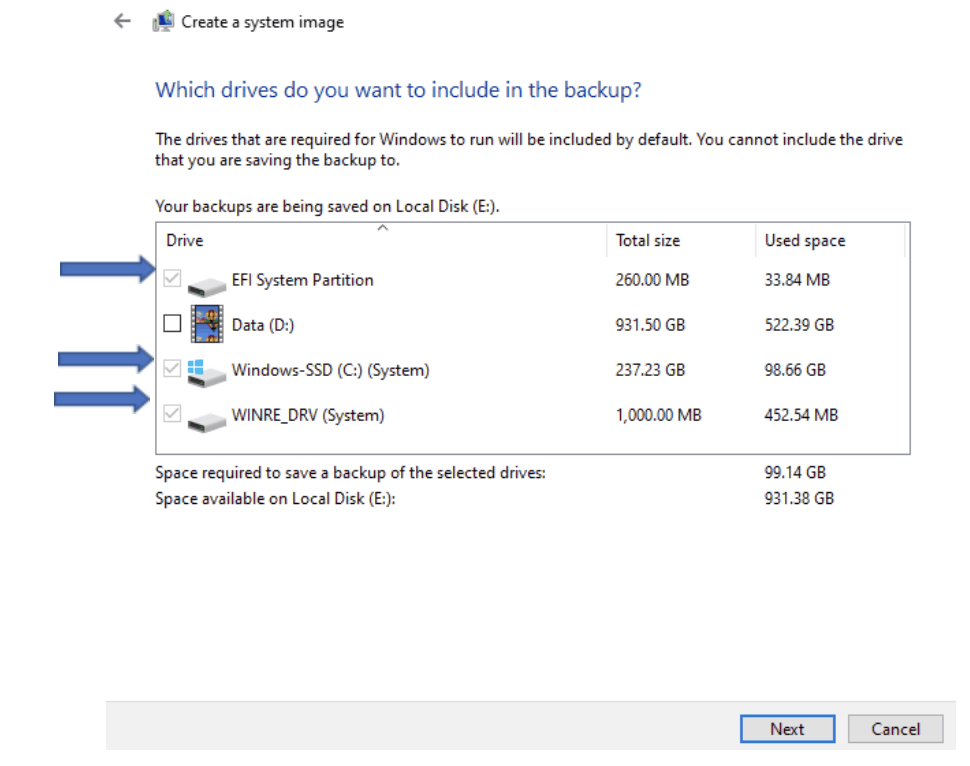
6. Select the Windows OS drive and OEM recovery drive. Some instances will vary, i.e. VMs will only have OS (C:) no OEM recovery drive; whereas, the client’s end-user PC/Laptops will, most likely, contain an OS (C:) drive and an OEM recovery Drive. The recovery drive is crucial to an end user’s system because the OEM contains all firmware to make the vendor’s product function with OS. (i.e., from wireless card drivers to proprietary offerings. Do not select any data drives. We are creating a backup of the OS not the data.
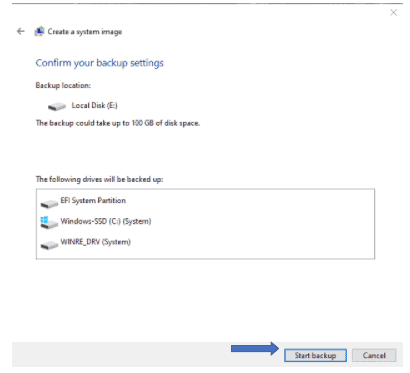
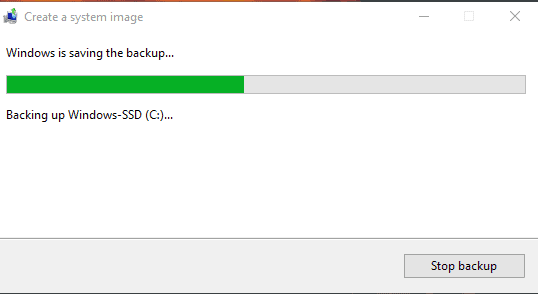
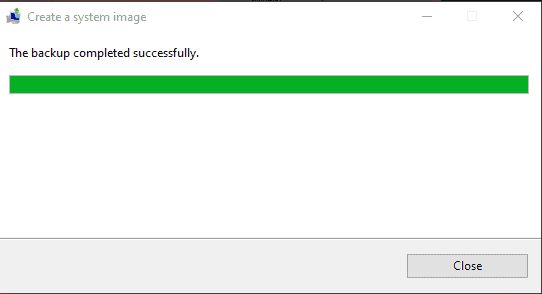
7. From here, you will get a recap screen to confirm your image configuration and then select “Start Backup”
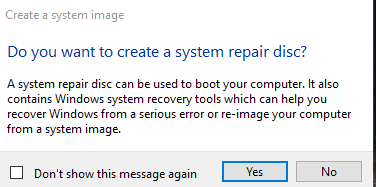
8. When the initial backup is completed, Windows will prompt if you want to create a system repair disc. Select “No“ (This requires disc burner)
9. You can confirm backup by going back to steps 3-5 and locating your external drive to confirm the most recent backup.