Setting up an environment in the cloud can be a daunting and overwhelming task. But it doesn’t need to be. This article will help walk you through the basic first steps to take after setting up your AWS account. These aren’t intended to be technical but more to practice in navigating the interface and updating settings to make your environment secure and easier to use. Let’s get started.
1. You will first want to enable Multi-Factor Authentication (MFA) for your root account. The root account uses your email address to log in and has access to your entire account. To secure AWS against unauthorized access, MFA adds an extra layer of security to verify that the person logging in is you. The root account should only be used in rare cases where an action requires it, such as resetting the password, creating IAM users, and other account-related tasks.
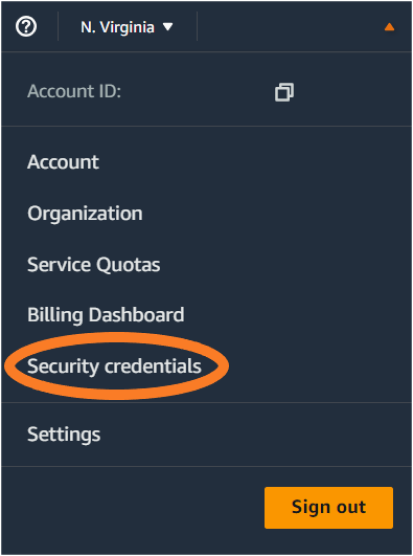
To enable MFA, log into the AWS console and go to your account name on the top right of the page.
Choose Security credentials.
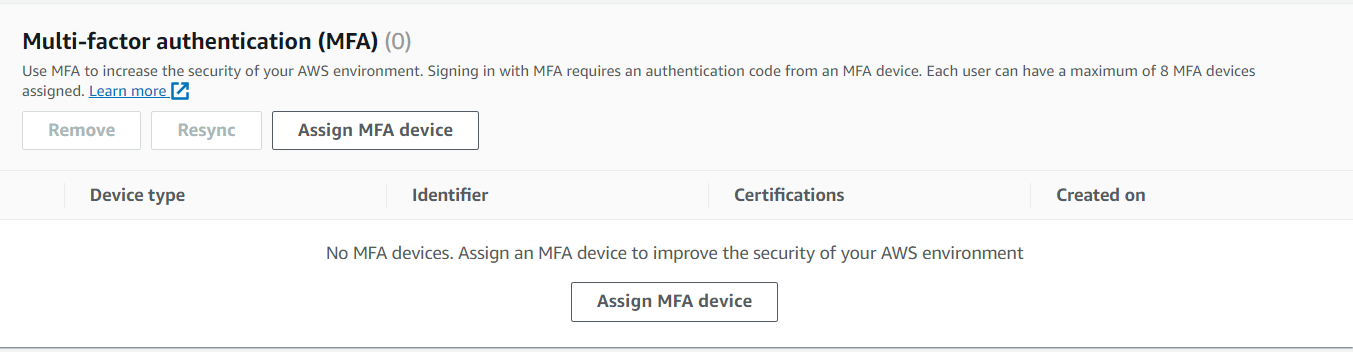
In the Multi-Factor Authentication (MFA) section, click on Assign MFA device.
Choose your device type and give it a name. The easiest and most common option is to choose an Authenticator app, which is an app you install on your phone. There are dozens of options to choose from, the most popular being Google, Microsoft, DUO & Authy.
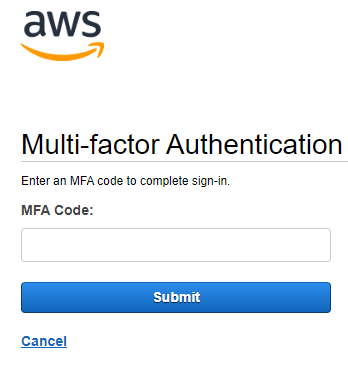
Follow the prompts to enable the device, and once complete, it will be ready to use when logging into the console. The login process will be the same, with an extra step added. Enter your email address and password as normal. You will then be prompted for an MFA code, which you will retrieve from whichever authenticator app you registered.
2. Since your root account will not be used for day-to-day operations, you will need to set up user accounts for every user that will need access, including yourself. As the account owner, you can grant yourself Administrator access; for other users, you can assign permissions depending on what their roles will be.
To create users, go back to the Security Credential page and select Users from the left menu.
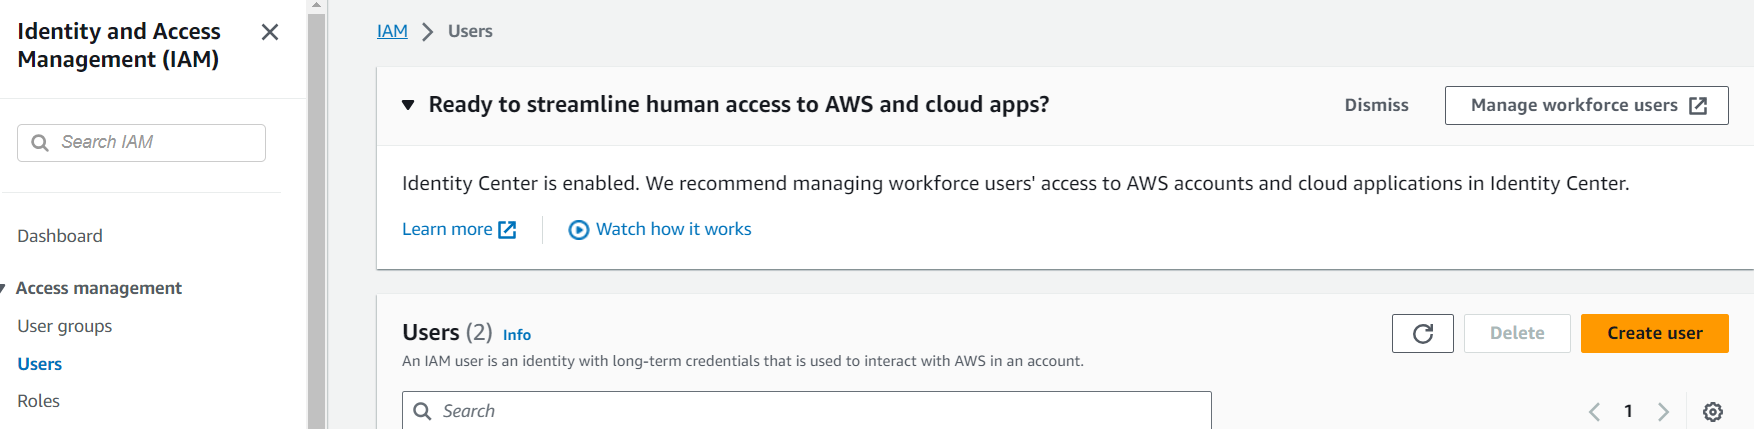
Click on Create User and follow the prompts. There are 2 types: users that only have programmatic access and those that have console access as well. Programmatic access users are used mostly for developers and applications to connect to AWS services, while console users are typical users who will need access to the console to create and manage services. If a user requires console access, select that checkbox and continue. You can choose to set a specific password or auto-generate one. Leave the default option selected to require the user to create a new password when they sign in. It is also recommended to have each user also set up MFA in the same manner as above once they get logged in.
3. To make it easier for users to log in, it is a good idea to create an account alias that is easily remembered by everyone. A good guideline is to use your company name or something related to the project. To do so, log into the console with an account with the appropriate permissions, such as the root or administrator accounts. This option is also under the Security Credentials page.
Select Dashboard from the left menu and then Create under the Account Alias option under AWS Account on the right side of the page.
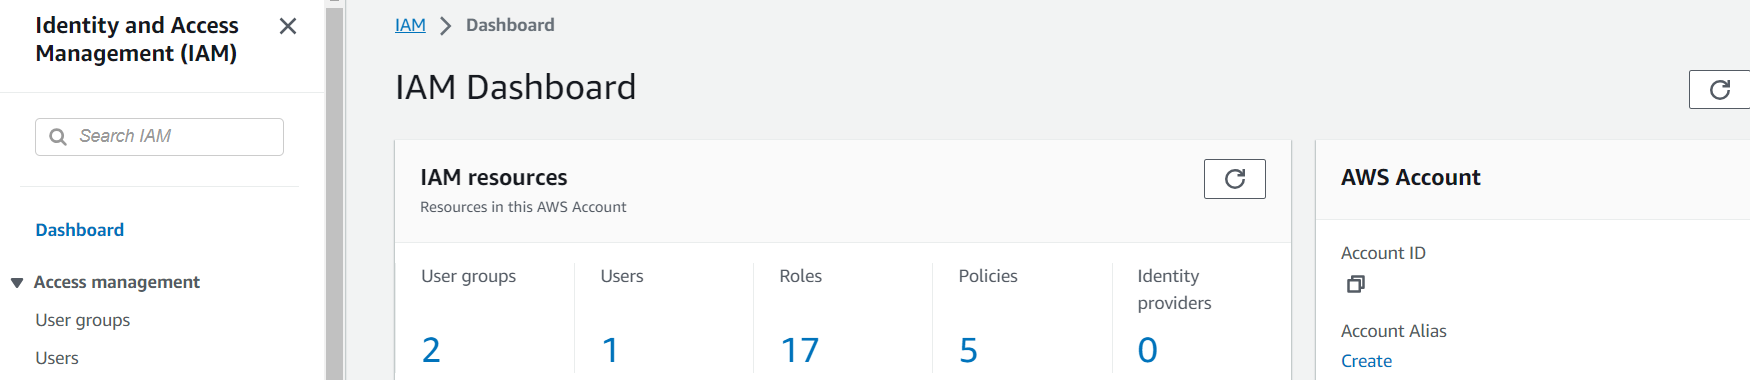
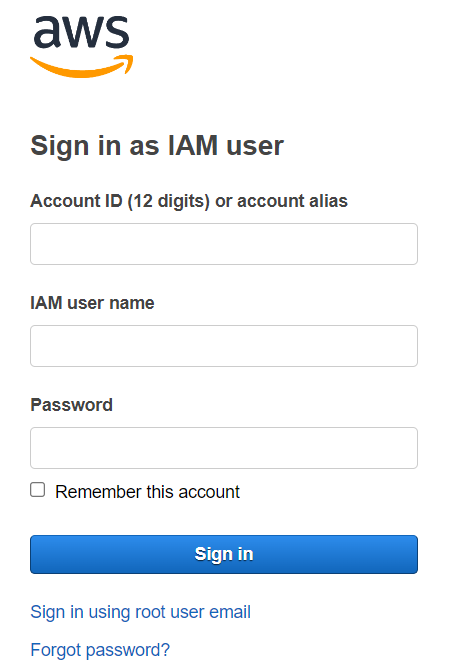
After setting an alias, your account is given a custom URL that can be used to sign into the console. It will be shown under Account Alias in the format of https://account-alias.signin.aws.amazon.com/console.
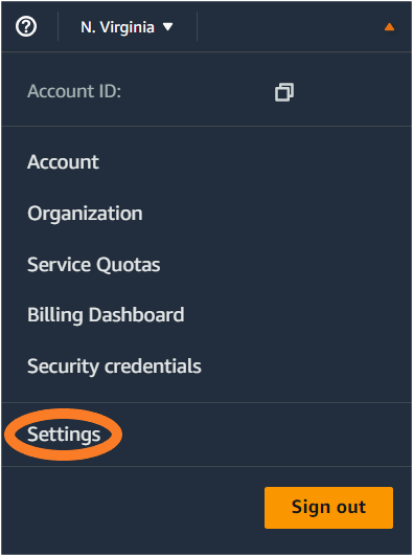
4. Depending on what region(s) you plan to deploy services to, you can choose to have a specific region load every time anyone logs into the console. To set the region default, go to your account name on the top right of the page and choose Settings.
Click Edit under Localization and default Region and choose whether to default to the last used region or a specific region. Setting that region as the default may be a good idea if you only plan to use one region or deploy resources mainly to the same region.
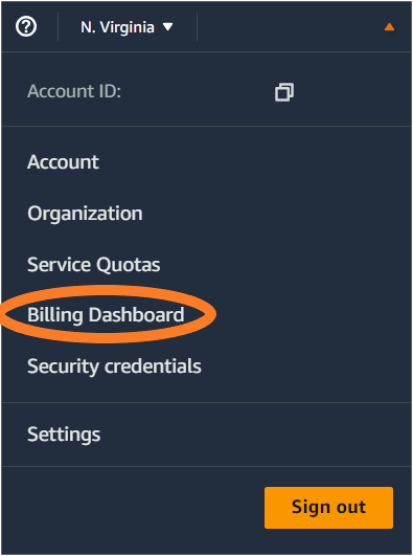
5. To help monitor and control costs, it is a good idea to set up billing alerts. To set up alerts, you first need to enable them by going to your account name on the top right of the page and choosing Billing Dashboard.
On the left menu, scroll down to the Preferences section and select Billing Preferences.
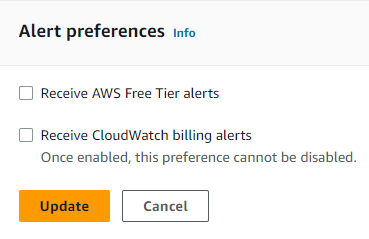
On the right, under Alert preferences, click on Edit. Check both boxes and click Update.
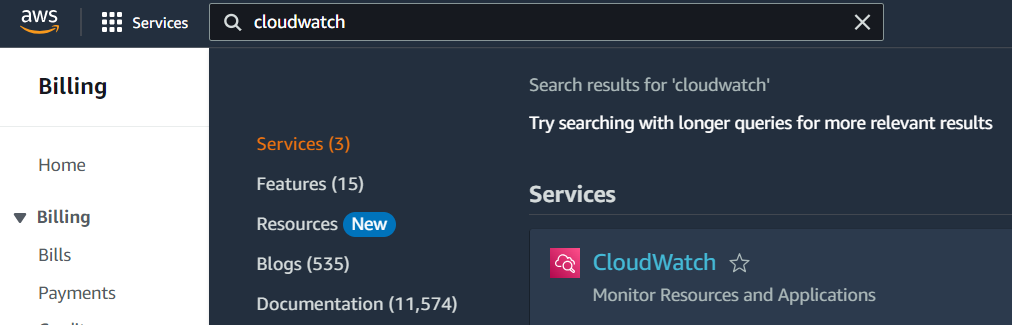
Now go to the search bar at the top and search for CloudWatch.
On the CloudWatch page, choose All Alarms under the Alarms menu and click on Create Alarm.

Choose Select metric, which will open the metrics page.
From there, click on Billing under AWS namespaces -> Total Estimated Charge and choose the checkbox for EstimatedCharges.
Click Select metric.
On the metric page, you can leave all the default options, scroll to the bottom, and enter your dollar amount in the bottom box. This will trigger an alarm whenever your total bill exceeds this amount during the month’s billing cycle.
Click Next.
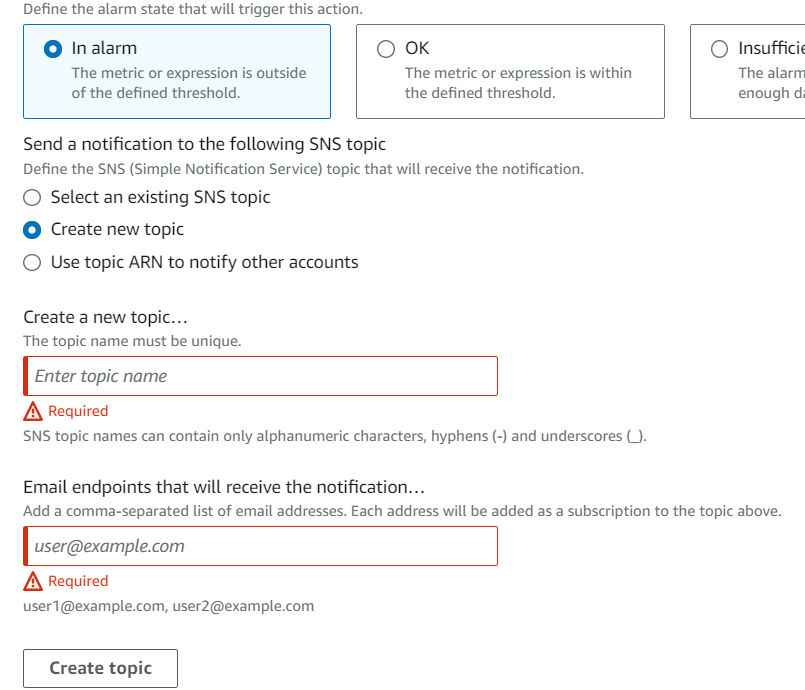
Under the Configure actions page, select Add notification.
Choose the Create new topic option, enter a topic name and the email address you want the alert to be sent to, and click Create topic.
Click Next and add a name for the alarm.
Click Next one last time and review the alarm settings before clicking on Create alarm.
That’s it! You are ready to start exploring and testing out all the services AWS has to offer.
If you have any questions about our AWS Cloud Services, please contact us.
This blog was originally posted here.