Microsoft’s Azure Active Directory Domain Services (Azure AD DS) provides managed domain services such as domain join, group policy, lightweight directory access protocol (LDAP), and Kerberos/NTLM authentication that’s fully compatible with Windows Server Active Directory. You use these domain services without the need to deploy, manage, and patch domain controllers in the cloud. Azure AD DS integrates with your existing Azure AD tenant, making it possible for users to sign in using their existing credentials. You can also use existing groups and user accounts to secure access to resources, which provides a smoother lift-and-shift of on-premises resources to Azure. Azure AD DS seamlessly deploys everything you need to manage your environment. In this article, we’ll be setting up a new Azure AD DS domain. (Note: We will be using a Global Administrator user for this exercise)
Configure initial setup of Azure AD DS
1. Navigate to www.portal.azure.com and sign in.
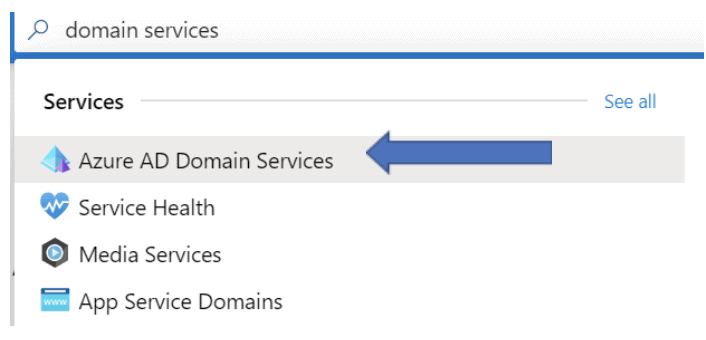
2. In the search bar, type “domain services“ then select “Azure AD Domain Services.”
3. Select ![]() at the top left or
at the top left or ![]() in the center of the screen to begin.
in the center of the screen to begin.
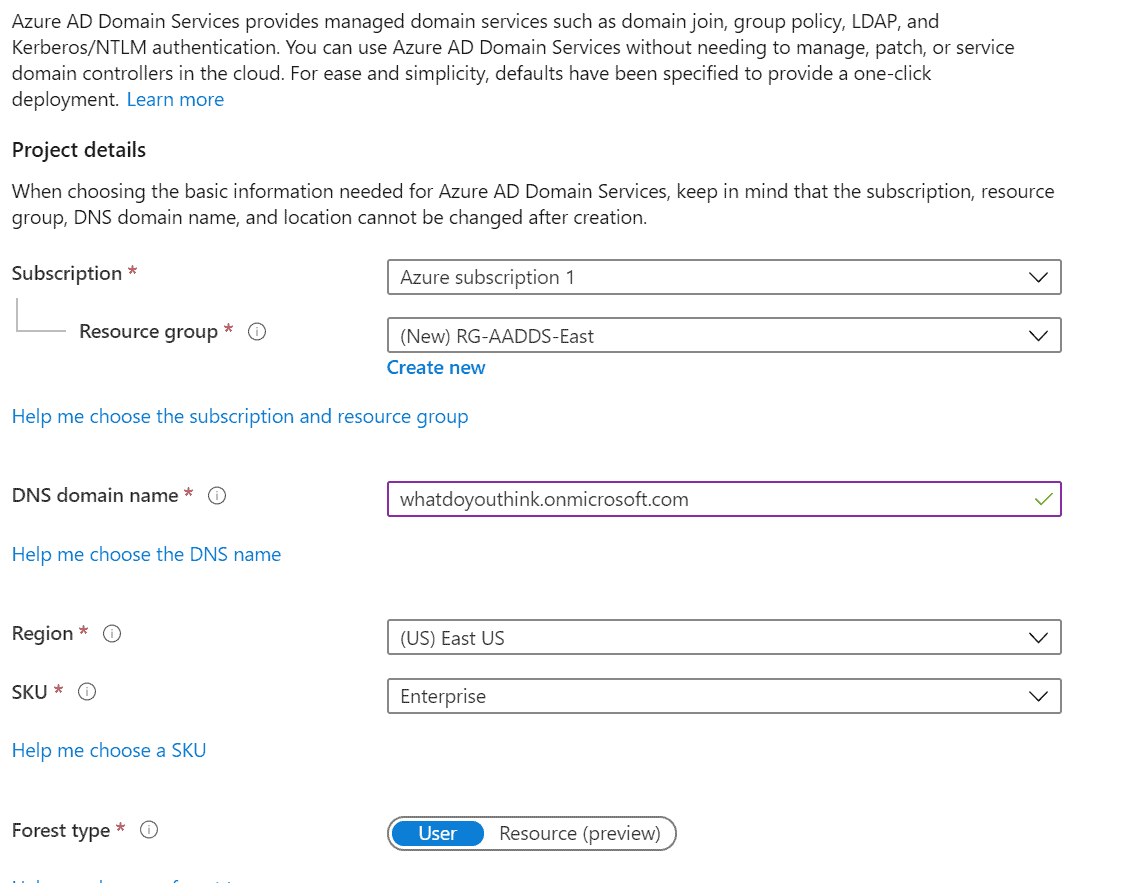
4. The “Basics” page allows you to fill out the primary information regarding the service. Make sure the proper selections are made before selecting “Next” (i.e. ensure you have the proper subscription, if multiple, also resource group, your Domain/DNS name, region, and SKU. To learn more about SKU/pricing click here).
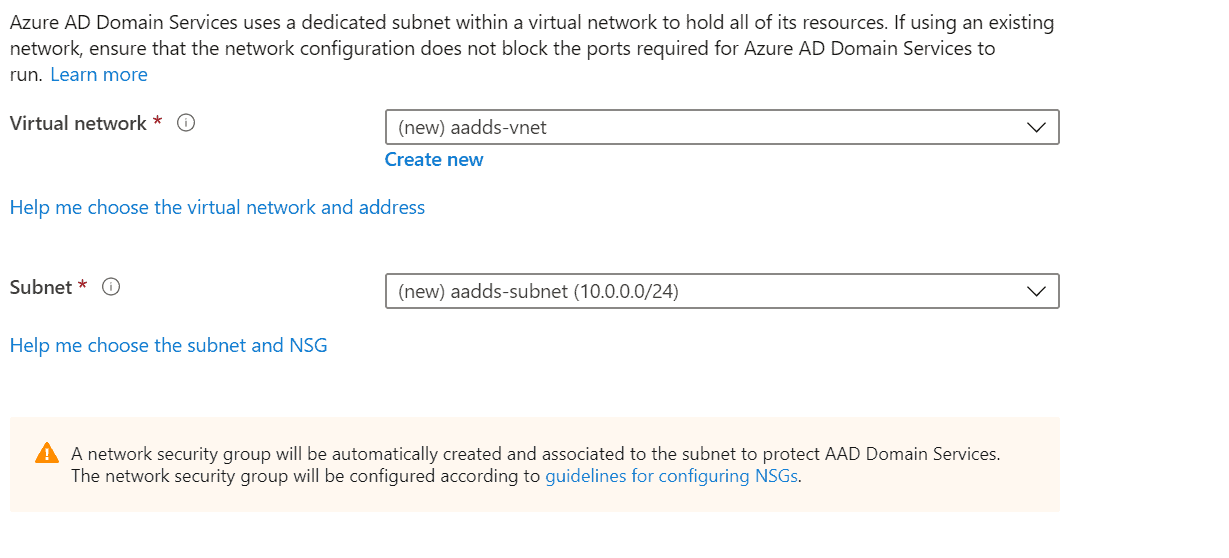
5. On the Networking page, leave as default as Azure needs to create its own virtual network along with subnet/NSG for Azure AD DS.
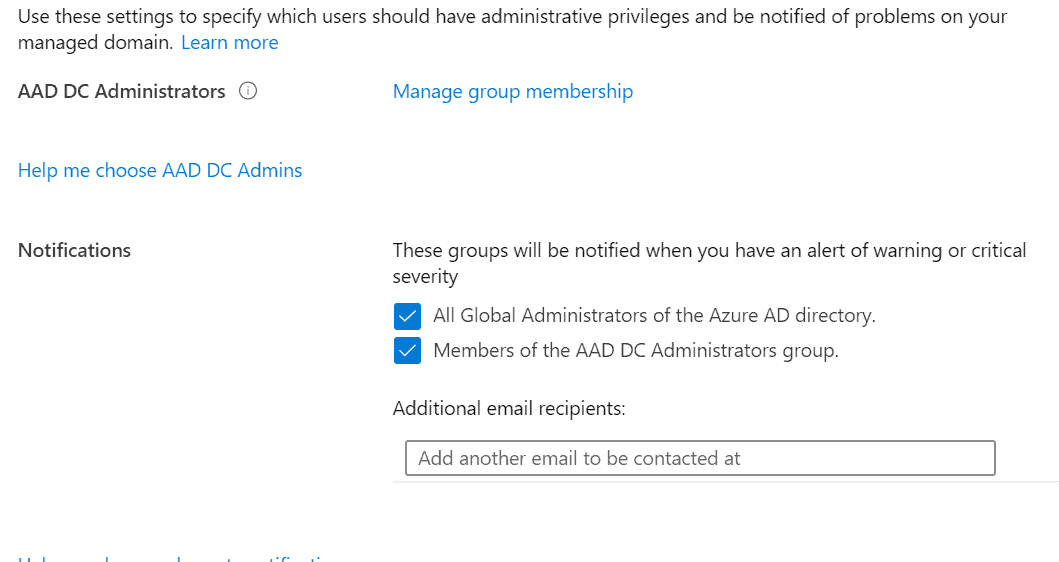
6. The administration page allows you to choose who has admin privileges to administer Azure AD DS. Microsoft automatically creates a security group called “AAD DC Members,” which is recommended. Furthermore, you’ll also control who gets notification of any alerts set up for this service within Azure. You can see there are default users/members; however, you can still add other recipients via their email. Click “Next.”
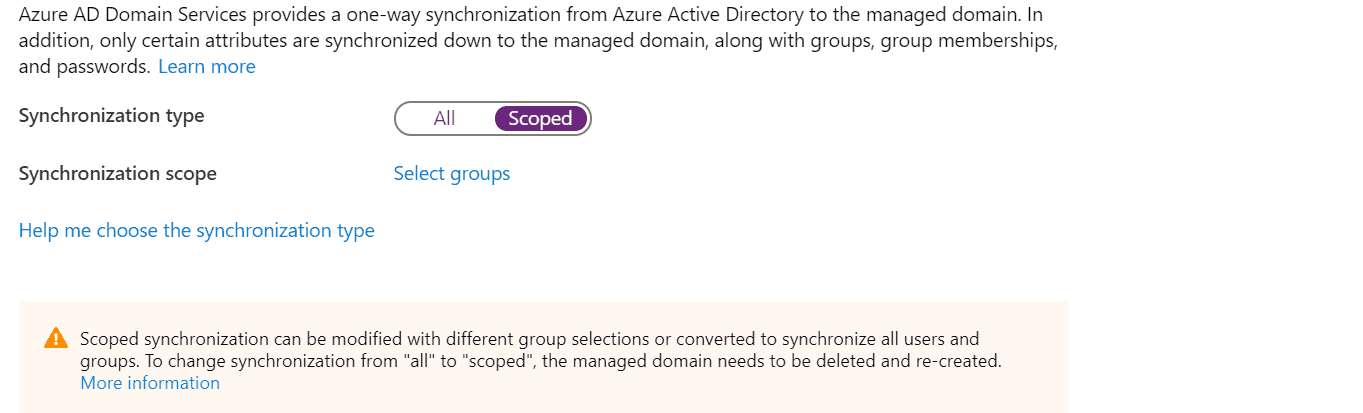
7. The Synchronization page outlines if you are wanting to sync your entire contents of Azure AD or just specific groups. (Please note: if you chose to sync all then change to scoped, you’ll be required to delete and recreate. However, going from scoped to all does not). Select “Review + Create” to see the summary.
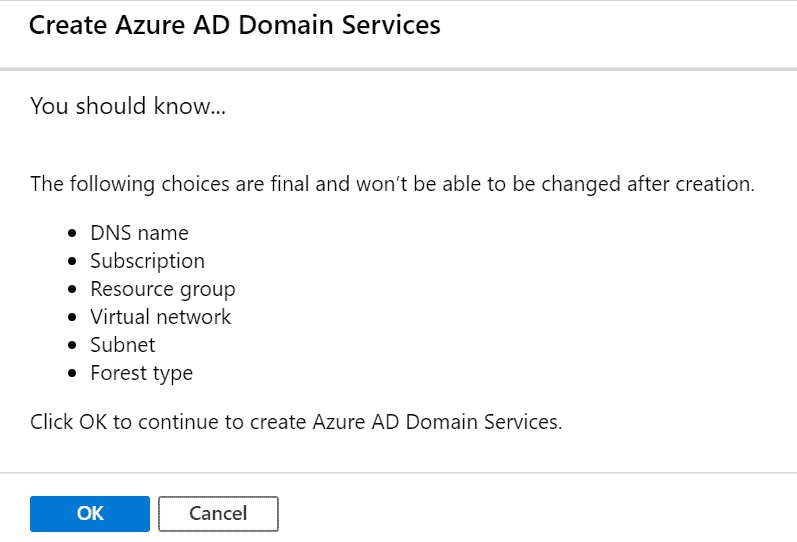
8. After validation is complete (this can take up to five minutes), click ![]() to begin Azure AD DS creation. Microsoft then greets you with an informal message of what is created for the service and what cannot be changed once created. Review and select “OK”if you’re ready to proceed.
to begin Azure AD DS creation. Microsoft then greets you with an informal message of what is created for the service and what cannot be changed once created. Review and select “OK”if you’re ready to proceed.
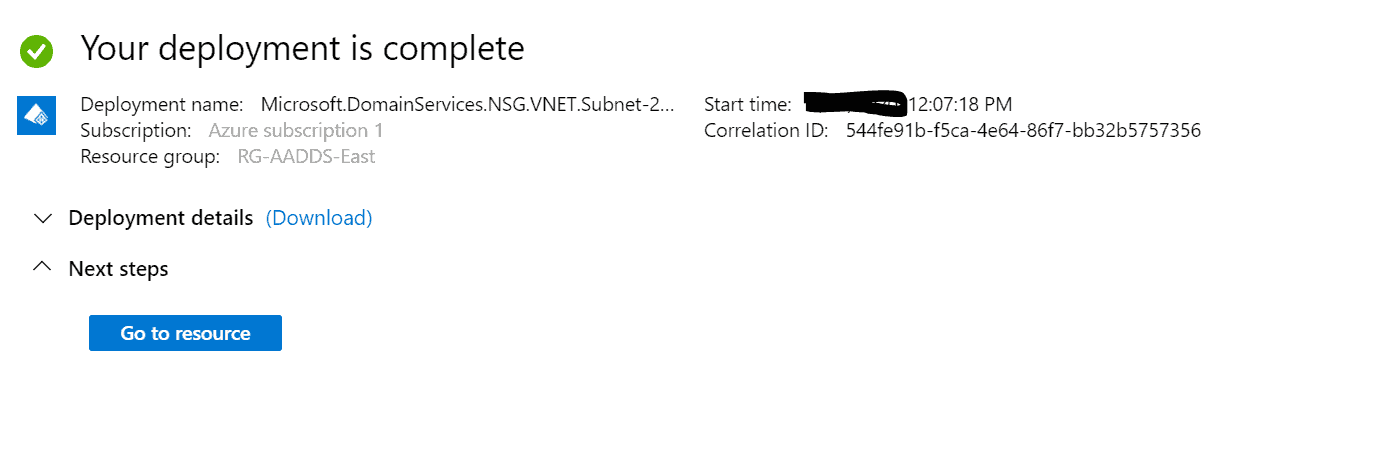
9. The deployment process can take up to one hour, but once it’s completed, you will get a ![]() symbol to confirm that deployment was successful.
symbol to confirm that deployment was successful.
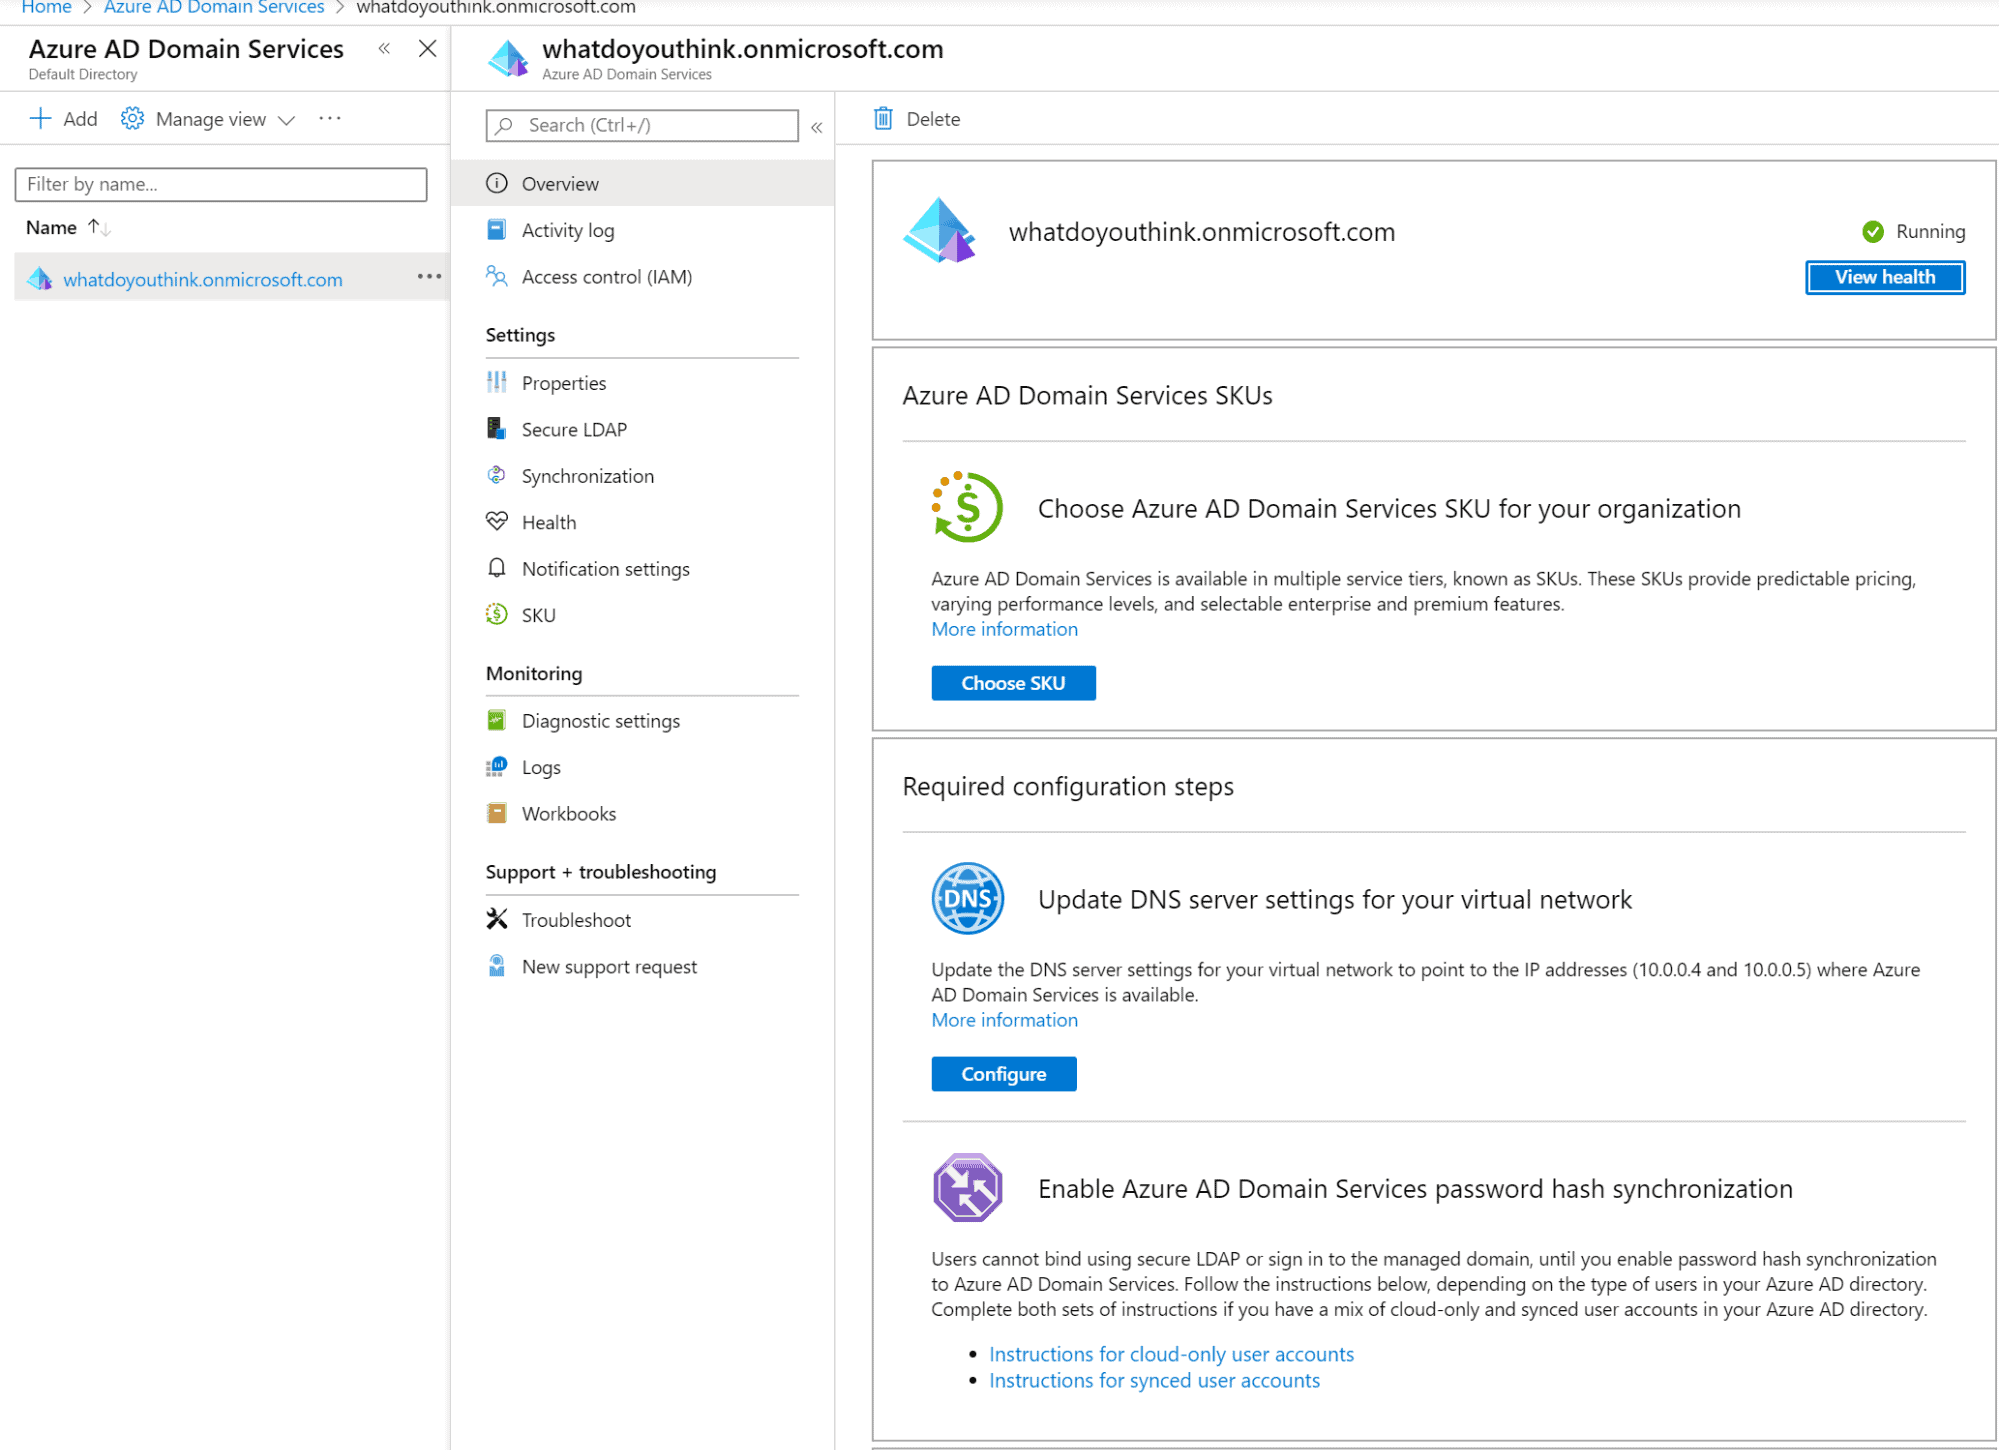
10. If you navigate back to Azure AD Domain Services, you will now see your domain.
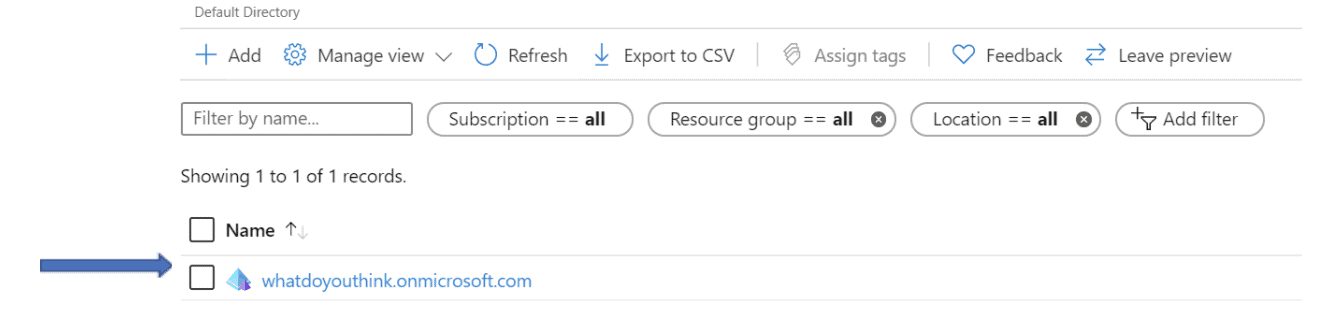
11. Select your domain to open the center blade for management purposes and begin setting up your domain. From here you can:
- Change the Azure AD SKU tier
- Configure DNS for other Virtual networks in your subscription
- Check Domain Health and Synchronization status
- Troubleshoot issues