There are many ways to import data into a database, some are pretty straightforward, and others are more complex depending on the type of data you receive and which format it is in. I will show you how to import data from an excel file using the DBA tool DBeaver.
File Conversion
When you receive a file in Excel format, you must convert this data into a readable format. This format is usually .csv (Comma Delimited) but can often be in a format that has a delimiter that isn’t so common.
Excel file Conversion
Excel file extensions are usually xls or xlsx, open your file in Excel. You’ll need to convert this into a CSV file, which is extremely easy. All you need to do is Save As and change the “Save as type:” to “CSV (Comma delimited) (*.csv)” and click Save. The file name will change automatically, no need to change it to .csv.

Create csv Connection
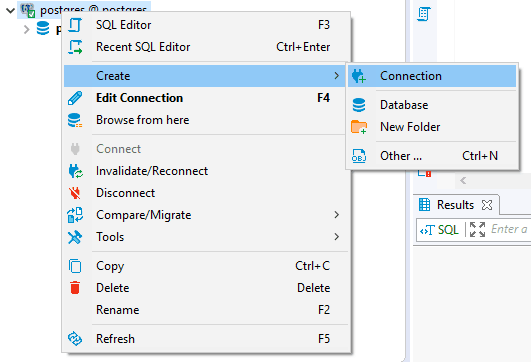
Right-click your database connection (or anywhere if your connections are empty), click Create and then click Connection.
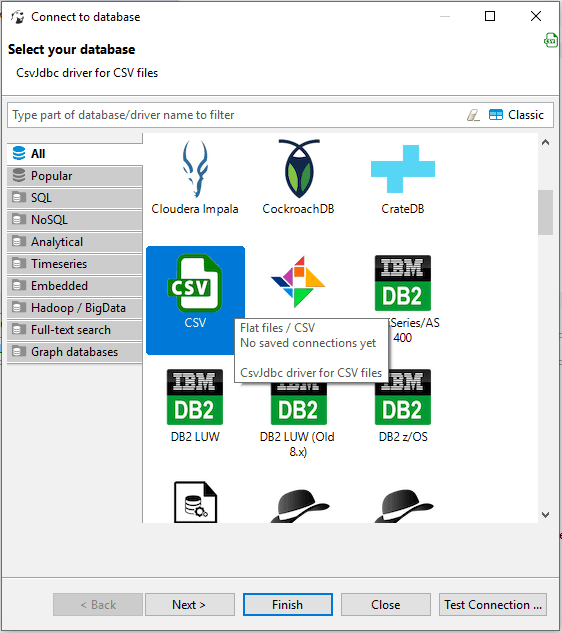
Make sure the All tab is selected on the left and scroll down to CSV. Click Next.
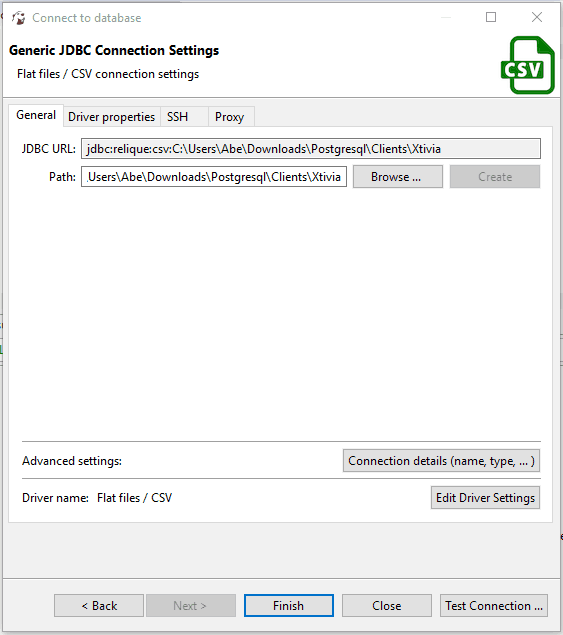
Click Browse… and select the folder where your csv file is that you saved from Excel. You’re selecting a folder here, not a file. The connection will load ALL csv files in that folder. Click Finish.
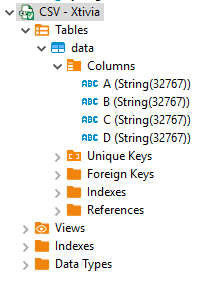
You will now see a new connection; this connection is set up exactly like a regular connection. Each csv file in your folder will be set up as a table with columns.
Data Import
Once the connection is made, you’re able to query the data just like you would any other table with sql syntax.
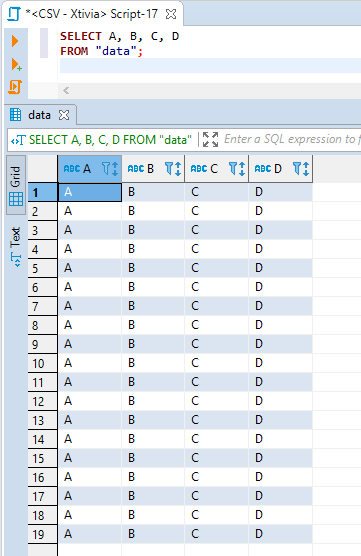
You can now import this data into your PostgreSQL table. Right-click the table you want to import into PostgreSQL and click Export Data.

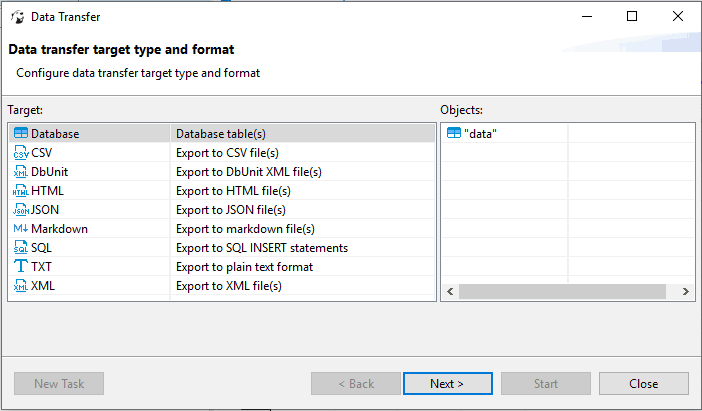
Select Database and click Next.
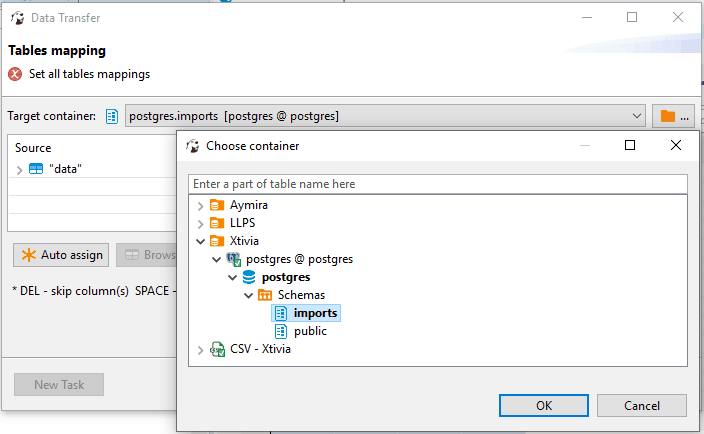
Change the target container to the schema where your table is in PostgreSQL. Click Ok.
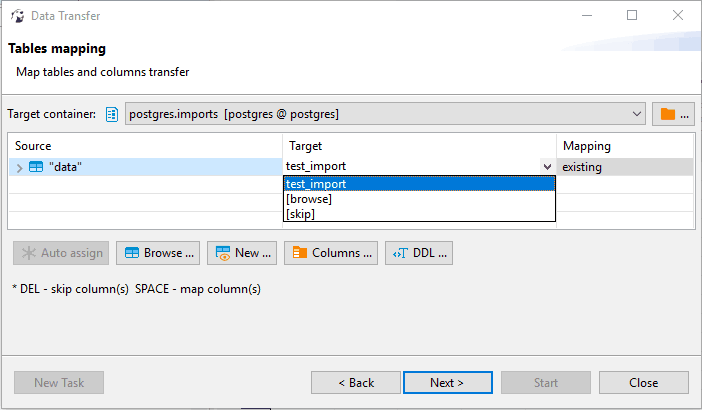
Select the target (table) where you want to import the data.
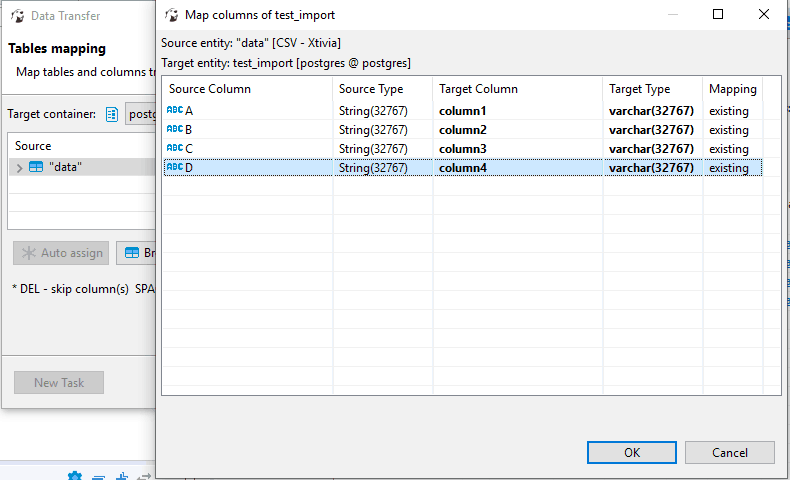
Click Columns and set the target column for each column of data. If you have headers already in your data that match the table columns, then this will automatically map. Click Ok. Click Next.
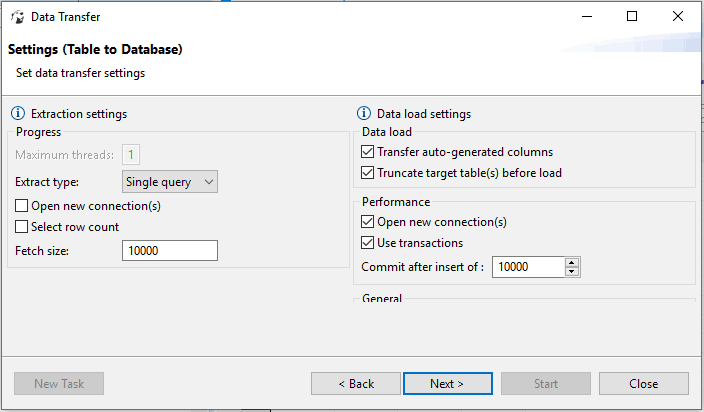
Set the options for connections and data load. If you only want to add data to the table and not overwrite the data, you will want to remove the option for truncating target table. Click Next.
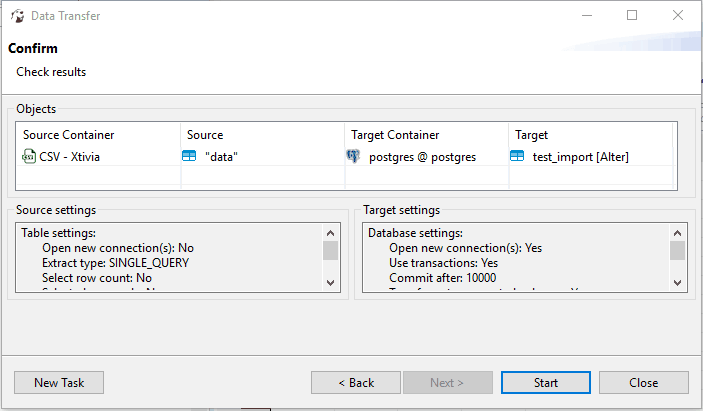
Check to make sure the source and target are correct and then click Start to begin the import.
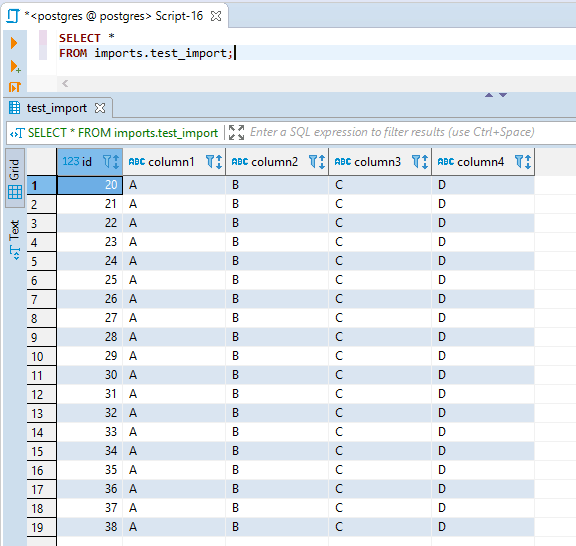
You can now select the data from your PostgreSQL table.
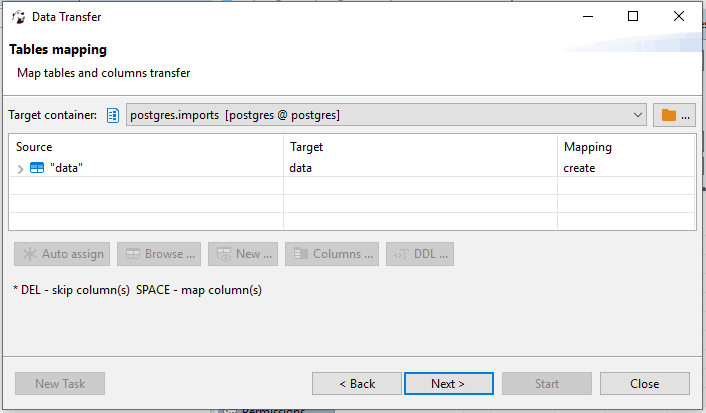
You can also create an empty table structure and select create under mapping in the Tables Mapping window, and it will create the columns for you. This is best used when you have headers.
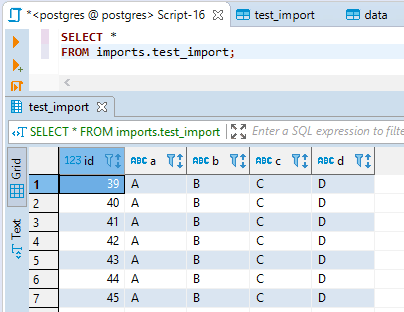
When you select data from the table after the import, the first row in the import data will be what the columns are named.
*NOTE*
When you import data and have headers in your data, it will be used as the first row if you already have a table structure in place. This could cause your import to fail, or it could cause your data to be inconsistent with your column data.

