Backups have always been a crucial asset in today’s continuous battles to control and protect our data. Every day, your data protection is being challenged continuously by malicious malware and viruses to hold your data hostage and have you pay fees to get it back. Microsoft has brought security and reliability of your data with Azure Backup Services. The peace of mind knowing that Azure has your back, in the event of an attack, can help alleviate the stress of constantly worrying about the security of your data. Today, we are going to cover how simple Azure has made it for you to get what you need, when you need it, as fast, safe and proficient as possible.
Restoring Files Using Azure Backups
1) Log in to the Azure portal and select your VM. In the center blade select ![]() .
.
2) At the top of the Backup page select ![]() .
.
3) Once the File Recovery option is selected, you can now select recovery point options.
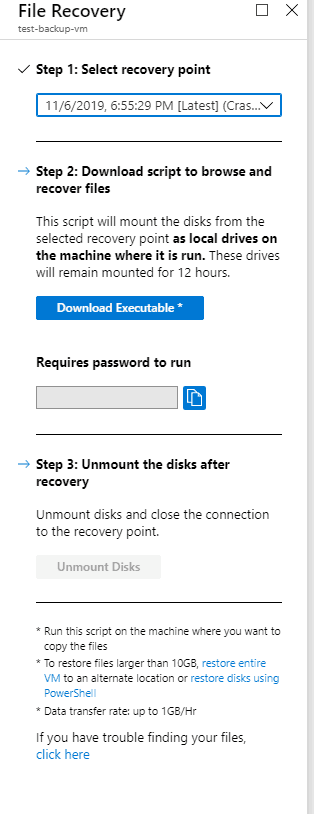
4) First, you want to 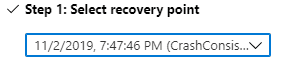 . Your recovery point is the point in time you wish to restore file contents. (Note: for any files larger than 10GB, you are required, by Microsoft, to restore your entire VM or use PowerShell).
5) Once you have a recovery point selected, you need to download the executable file required to mount the disks. These disks can be mounted in a local environment or directly on the virtual machine(s) you want to recover from. Select ![]() .
.
6) This can take about a minute. Once the exe file is ready, select ![]() .
.
7) After the file is downloaded, the 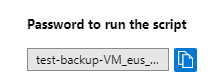 will be generated. You can copy this one-time password and save it to a note pad.
8) Once the file is downloaded, it will appear as this icon: ![]() . Run the executable.
. Run the executable.
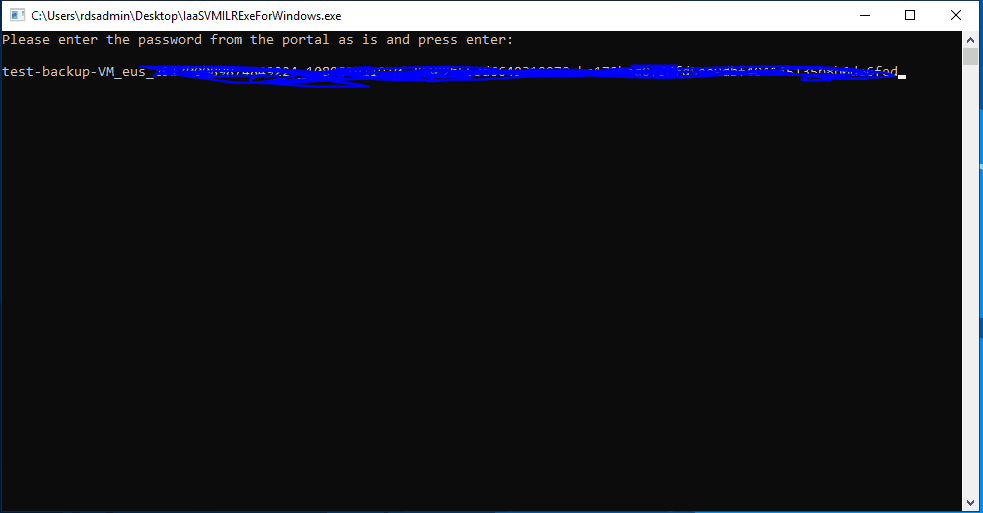
9) Command prompt window will open prompting for the password that was generated in the recovery blade. Paste the password.
10) When you run the executable, an administrative PowerShell session will open and begin mounting your disks.
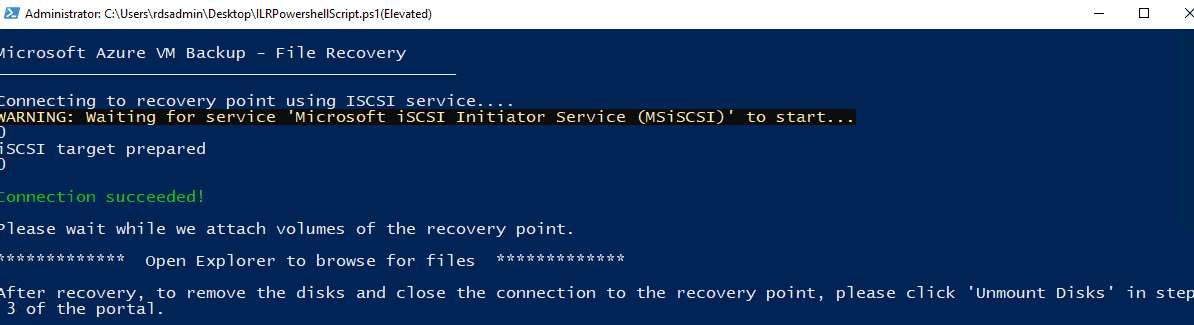
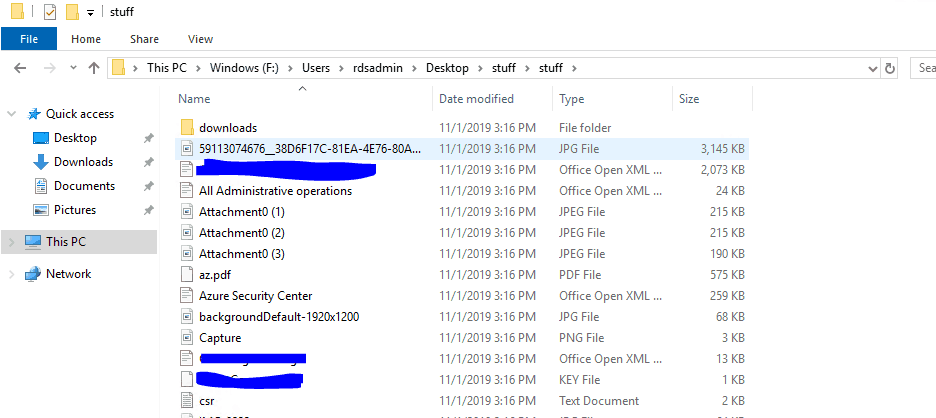
11) Once the connection is successful, you can now open file explorer to review and recover files that are needed.

12) After completing file(s) restore, go back to your File Restore section in the Azure portal and select ![]() to completely remove the disk(s) and close out the file restore connection.
to completely remove the disk(s) and close out the file restore connection.
As you can see, Microsoft’s ease of grabbing your files when you need it has taken file recovery to the next level! Let’s now take a look at how we can restore an entire Azure Virtual Machine.
How to restore an Azure Virtual Machine
1) From the Azure Portal, select your Azure VM and locate ![]() in the middle blade.
in the middle blade.
2) Select ![]() .
.
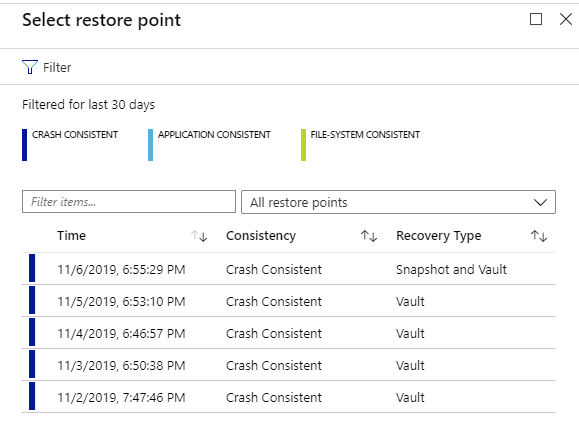
3) From here, you will see options for a restore point. Select the recovery point and type (Snapshot and Vault or Vault) to proceed. For this walkthrough, we will use the most recent recovery point. Click ![]() once your selection has been made.
once your selection has been made.
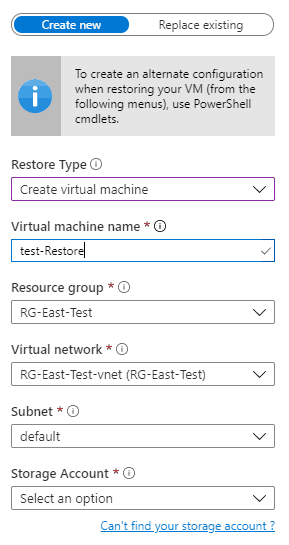
4) From here, you have two options: ![]()
Create new will create a new VM based on the recovery point. You can rename the VM, place in different resource group, virtual network, and storage account. Microsoft strongly recommends creating a new, separate storage account for restoring VMs as it needs a temporary location while the VMs rebuild.
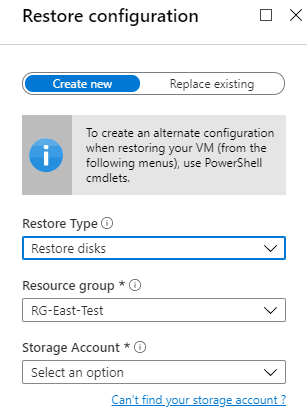
You also have the option to restore disks, not entire VMs, in the event you want to do so.
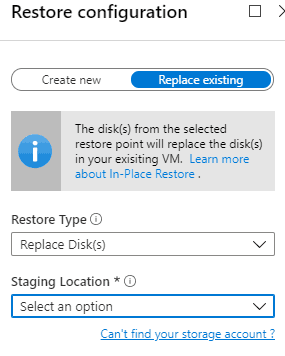
Replace Existing will do just that. It will restore the VM in place of the current state of existing to the recovery point requested; however, this only requires replacing the VHD (Virtual Hard Disks) on the server.
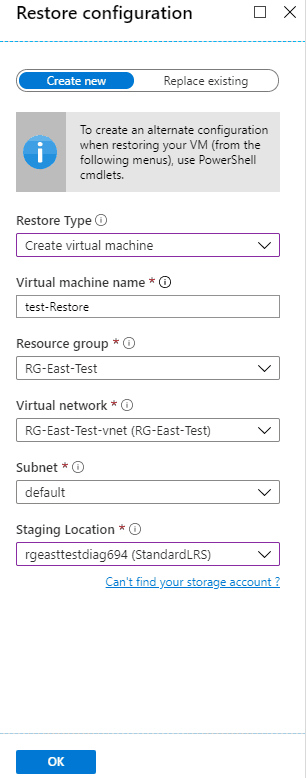
In our instructions, we will be creating a new VM.
5) Once you have selected your options, click ![]()
6) Click ![]()
7) Your notification bell ![]() will advise you of a successful restore trigger. From there, you can view the progress of your restore on the Backup jobs page.
will advise you of a successful restore trigger. From there, you can view the progress of your restore on the Backup jobs page.
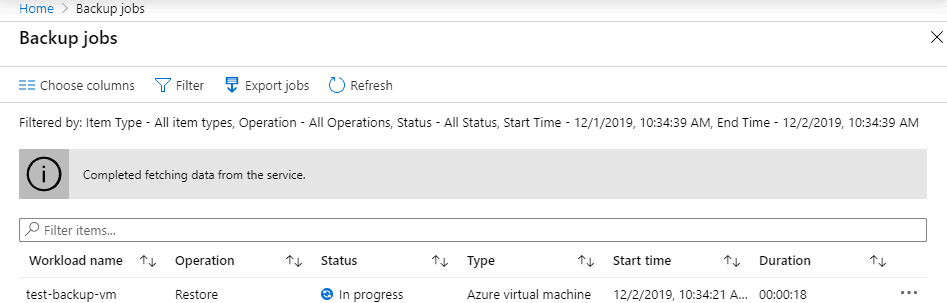
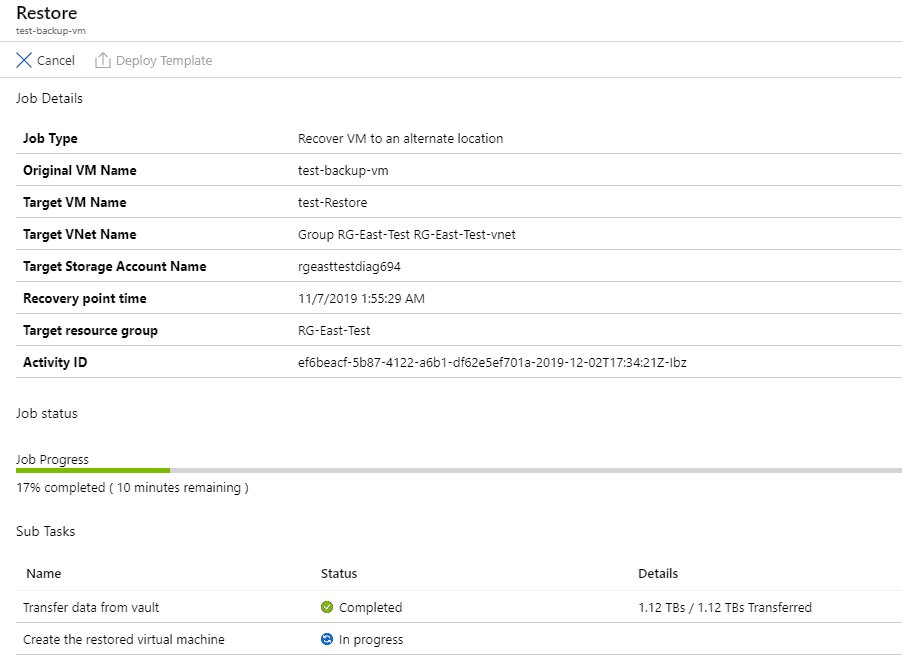
8) You can also select the job to view more details.
9) Once your restore is completed, your Job Details will display the completion.
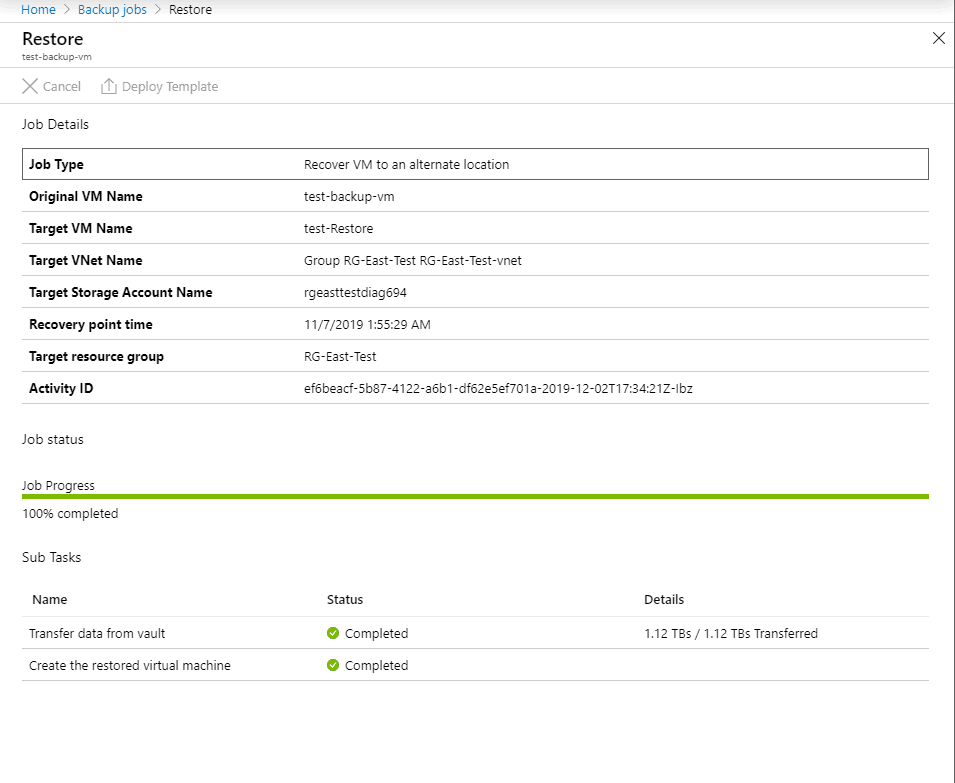
10) Locate your restored VM to confirm the operation. As you can see, my VM was restored successfully.

This post was originally published here.