Snapshots in Amazon when taken manually, are not available for scheduling. In order to accomplish this you could run Amazon CLI but for that you would need to execute from a server based on a cron job or something similar. This solution will allow you to run a serverless architecture which leverages existing Amazon services.
Lamba Files
Follow the link below to download the Lambda files you will need to run the automated scripts.
https://github.com/aws-samples/aws-rds-snapshot-management
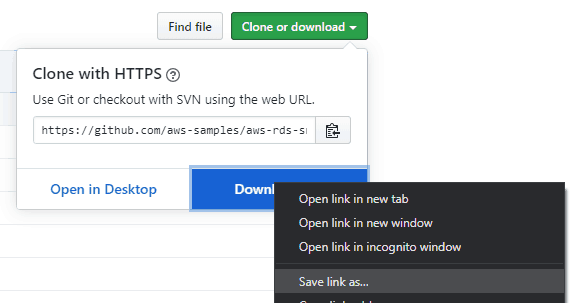
Click the “Clone or download” button on the right , right click “Download Zip” and click “Save link as…”, save this file where you can find it and unzip the file.
S3 Bucket
User Permissions
Before you can create the bucket we’ll need to assign the AmazonS3FullAccess policy to your user.
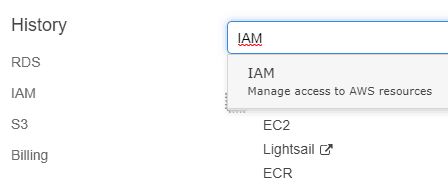
Select Service at the top and type IAM in the box, click IAM in the drop down.
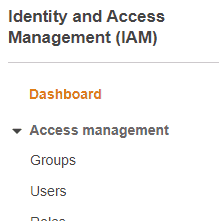
Select Users on the left side of the screen.
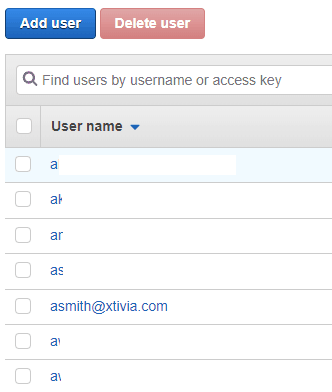
Select your user on the right.
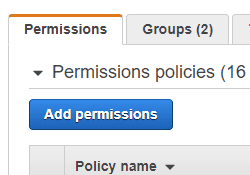
Click add Permissions.
Click Attach existing policies directly. (alternatively you can add it to a role)

In the search box, type AmazonS3 and you’ll see the AmazonS3FullAccess Policy, click the check beside it to select.


Click Next: Review at the bottom.

Click Add Permissions
Create Bucket
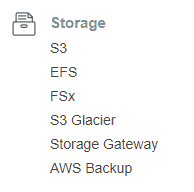
Next we’ll create the bucket to store our Lambda Functions, click services at the top and select S3 under storage.
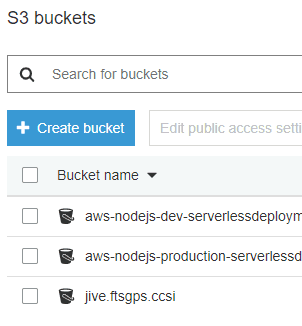
Click Create Bucket.
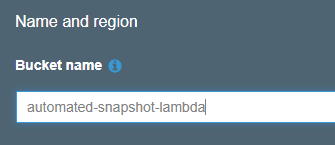
Name your bucket. Click Next.
Click Next, Next and Create Bucket.
Upload Files

Click on your bucket name.
Click Upload
Click Add files
Go to the location where you unzipped the files , go to the lambda folder, select all 4 files and click Open.

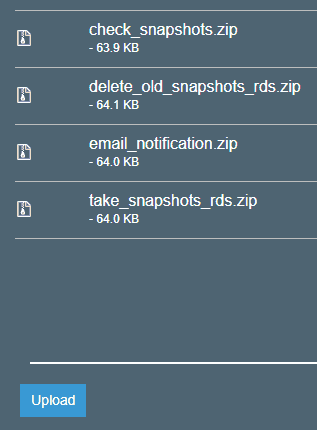
Make sure all files are added to the view and click Upload.
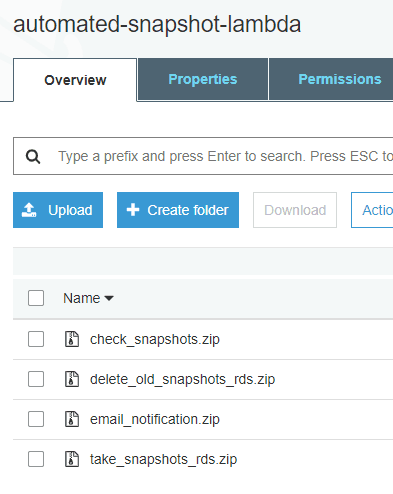
The files should now show up in your bucket.
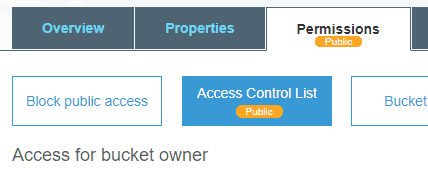
Click on Permissions, then click on Access Control List
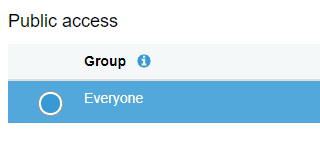
Click on Everyone
Click List Objects and Read bucket permissions
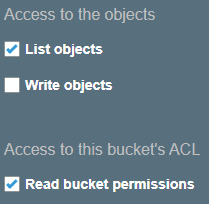
Remove these public permissions after the stack is created. See section on S3 Permissions for assigning distinct permissions.
Cloud Formation Stack
In order to execute the Lambda files in your S3 bucket, you need to create a stack. The stack will enable the parameters of the scripts for customization.
Download Template
Go to the link below and save the rds_snapshot_management.yml file.
https://github.com/aws-samples/aws-rds-snapshot-management/tree/master/cftemplate
Create Stack
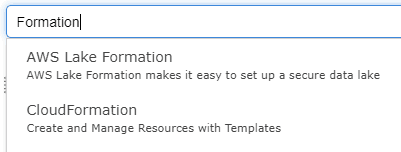
Click Services at the top of the page, type in formation and then click CloudFormation.
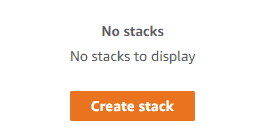
Click Create Stack
Make sure “Template is ready” and “Upload a template file” are selected, then click “Choose file”.
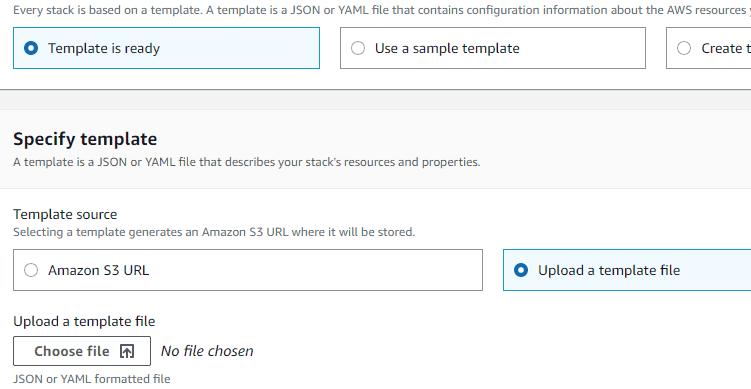
Go to where you unzipped the files, open the cftemplate folder, Select rds_snapshot_management.yml in the prompt and click Open.

You should now see the S3 generated url for your template, click Next.

Configuration
On this screen you will see a list of parameters, these parameters will determine how your snapshots will be retained, when they will be taken and several others.
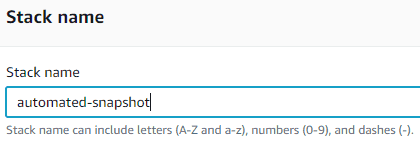
Assign a unique name to the stack.
For BackupSchedule I have chosen to run a snapshot every 30 days, which is 720 hours. I want my backup to run at 2am every month so I’ve input “0 2 1 * ? *”.
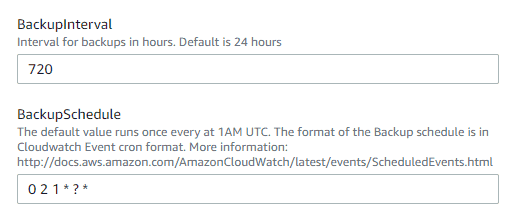
Other format examples:


Input the name of the bucket you created earlier in the CodeBucket box. You can set DeleteOldSnapshots to true if you don’t want to delete them manually. This is dependent on the number of retention days that you specify further down.
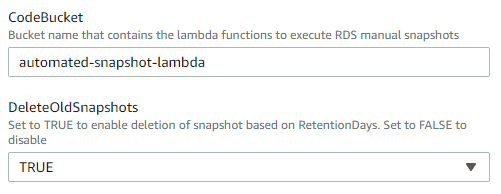
Set the loglevel which is the notifications you’ll get if something goes wrong. This level is a threshold , so if you set it to DEBUG, you’ll get everything from DEBUG-CRITICAL. If you set it to ERROR, you’ll get ERROR-CRITICAL.
Enter the email address that you want notified when a snapshot is taken.
RetentionDays is the number of days that a snapshot will be retained. I am retaining my backups for an entire year, so I’ve chosen 366 days to account for a leap year. If you don’t want snapshots to be deleted go back and set DeleteOldSnapshots to false.
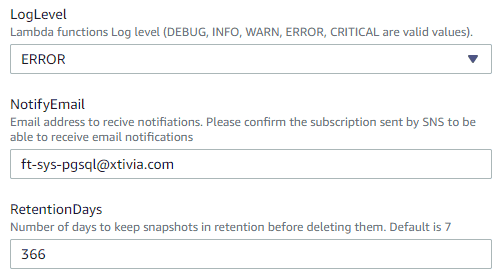
Once you have your configuration setup and you’ve checked it, click Next.
Permissions
This is optional, you can add a role that will be responsible for managing resources on the stack.

Whichever option you pick, you will need these permissions in order to successfully create the stack.
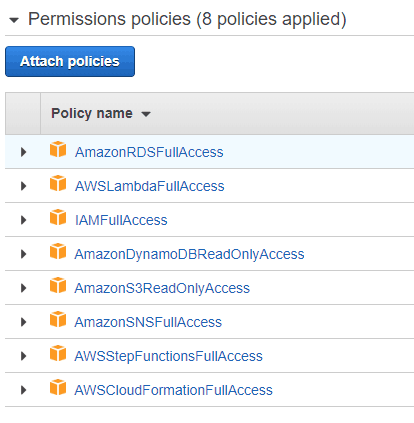
Once you’re done, click next.
At this point you’re done with setup, review your configuration. At the bottom of this page you’ll need to acknowledge that the stack will be creating IAM Access Roles that it uses to operate.

Review your setup and click Create stack.

Post Configuration
Now we can configure which RDS instances will have snapshots taken manually.
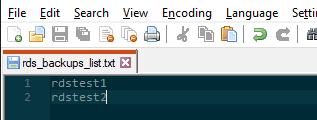
Create a rds_backups_list.txt file and input each rds name you want to take snapshots of, on it’s own line in the file
Now go to your S3 environment, there will be an S3 bucket which was created by the Cloud Stack for you to upload the text file. I named my Cloud Stack automated-snapshot-monthly, below you can see the bucket it created for me.
Upload your file into the bucket.

Testing
Now we can test our deployment and make sure snapshots are taken manually.

Click services and type step into the search box, click on Step Functions.
If you don’t see state machines right away, click Get Started on the right side.

Now click State Machines in the breadcrumb at the top.
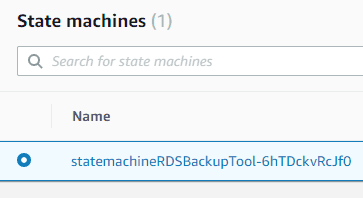
Click on your state machine with the text of RDSBackupTool

Click Start Execution

Enter a name for the execution task

Click Start Execution
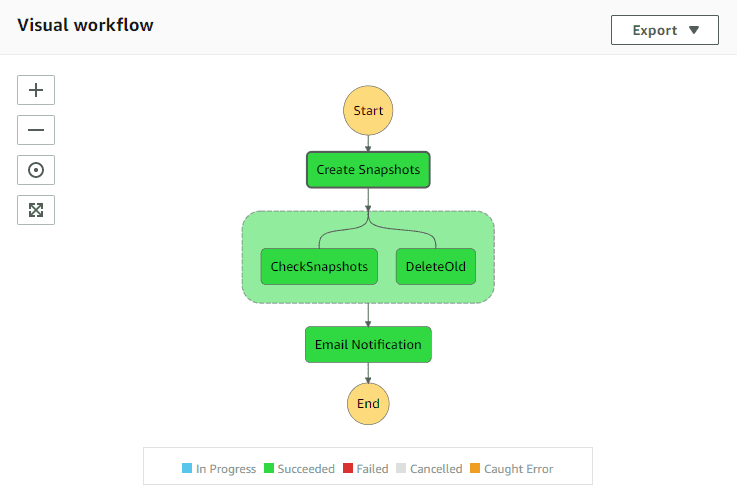
In the visual workflow you can see the steps and status of each step. For instance the Create Snapshots step has failed in this example below.
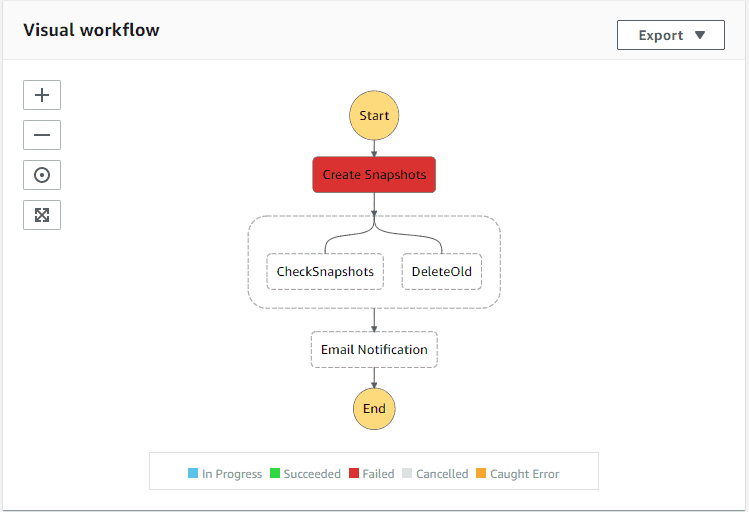
If you click on the Create Snapshots box, on the right side you can see the details, the Exception field will give you more information on why a step failed.
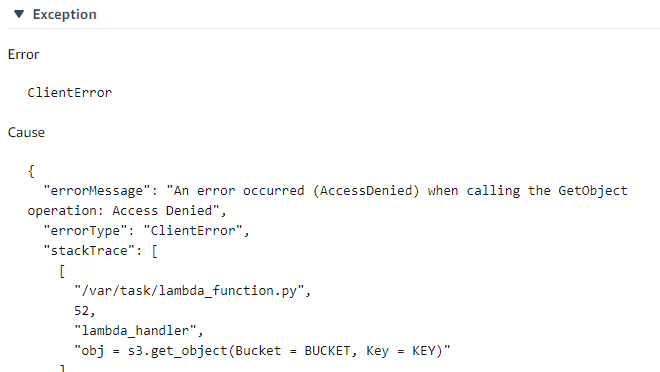
This error has to do with S3 bucket permissions. If you setup a role for CloudStack in previous steps, make sure it has access to your S3 bucket and contents. If you didn’t setup a role make sure your user has access to the S3 bucket. You can test this by setting your buckets to Public and testing again, if it succeeds then you need to modify permissions. I don’t recommend keeping your buckets public.
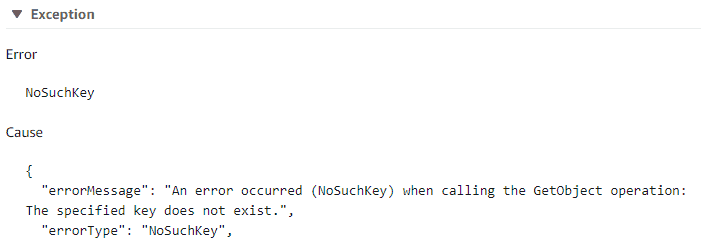
The below error means most likely that your rds_backups_list.txt file is not named correctly, check the name of the file and make sure it is exact.
S3 Permissions
Handling bucket permissions can be a hassle if you’ve never done it before. Especially if you don’t want them to be public. Here is how I setup my S3 policy for the two buckets needed in this tutorial.
{
    "Version": "2012-10-17",
    "Statement": [
        {
            "Sid": "VisualEditor0",
            "Effect": "Allow",
            "Action": "s3:GetObject",
            "Resource": "arn:aws:s3:::automated-snapshot-monthly-s3sourcelistbucket-153ftue9h0bzj/automated-snapshot-monthly-s3sourcelistbucket-153ftue9h0bzj"
        },
        {
            "Sid": "VisualEditor1",
            "Effect": "Allow",
            "Action": "s3:GetObject",
            "Resource": "arn:aws:s3:::automated-snapshot-lambda/automated-snapshot-lambda"
        },
        {
            "Sid": "VisualEditor2",
            "Effect": "Allow",
            "Action": "s3:GetObject",
            "Resource": "arn:aws:s3:::automated-snapshot-lambda/check_snapshots.zip"
        },
        {
            "Sid": "VisualEditor3",
            "Effect": "Allow",
            "Action": "s3:GetObject",
            "Resource": "arn:aws:s3:::automated-snapshot-lambda/delete_old_snapshots_rds.zip"
        },
        {
            "Sid": "VisualEditor4",
            "Effect": "Allow",
            "Action": "s3:GetObject",
            "Resource": "arn:aws:s3:::automated-snapshot-lambda/email_notification.zip.zip"
        },
        {
            "Sid": "VisualEditor5",
            "Effect": "Allow",
            "Action": "s3:GetObject",
            "Resource": "arn:aws:s3:::automated-snapshot-lambda/take_snapshots_rds.zip.zip"
        },
        {
            "Sid": "VisualEditor6",
            "Effect": "Allow",
            "Action": "s3:GetObject",
            "Resource": "arn:aws:s3:::automated-snapshot-monthly-s3sourcelistbucket-153ftue9h0bzj/automated-snapshot-monthly-s3sourcelistbucket-153ftue9h0bzj/rds_backups_list.txt"
        }
    ]
}
Basically, you need to add a permission for GetObject (read permission) on each bucket and on each object in the bucket. Attach this policy to your user or to the role you assigned for your CloudFormation.
That’s pretty much it, once you get those issues resolved you will see a workflow that looks like the one below. Check your RDS Snapshots and you’ll see the snapshot that was taken.
